Wildcard week
Assignment
Design and produce something with a digital fabrication process (incorporating computer-aided design and manufacturing) not covered in another assignment, documenting the requirements that your assignment meets, and including everything necessary to reproduce it. Possibilities include (but are not limited to) composites, textiles, biotechnology, robotics, folding, and cooking.
Soft robotics is a subfield of robotics that concerns the design, control, and fabrication of robots composed of compliant materials, instead of rigid links.[1] In contrast to rigid-bodied robots built from metals, ceramics and hard plastics, the compliance of soft robots can improve their safety when working in close contact with humans.
https://en.wikipedia.org/wiki/Soft_robotics
How Does It work
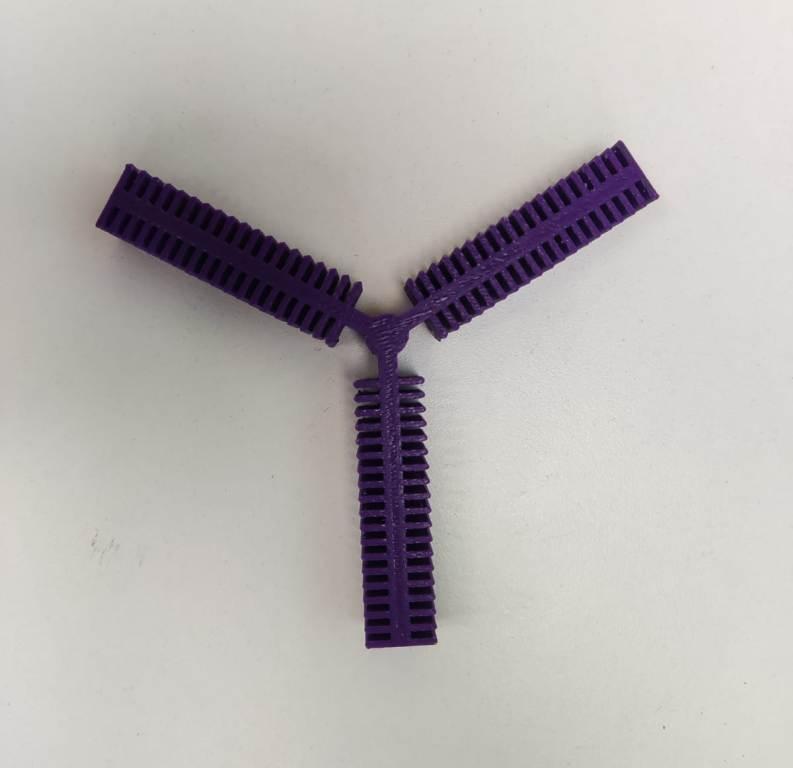
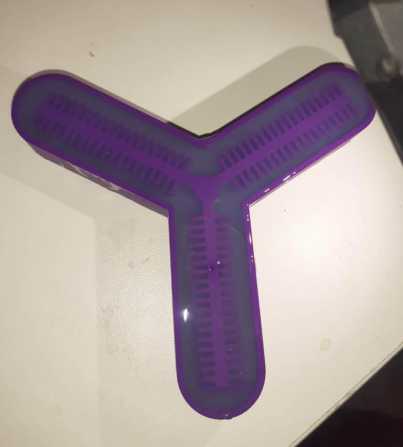
There are different ways to acuate a soft robot which include: pneumatic, photosensitive, combustion driven etc. In this week I am going to try out pneumatic actuation. When air is pumped into theses cavities, the cavities expand and the structure changes its shape. The structure can also change its shape when air is pulled out of these cavities. is kind of cool animal to biomimic and I think it would be great experiment. The cavities will swell up when air is pumped throught the air in and the whole body bends. The cavies can be desined according the the required shape and size that5 we need to move/bend the body.
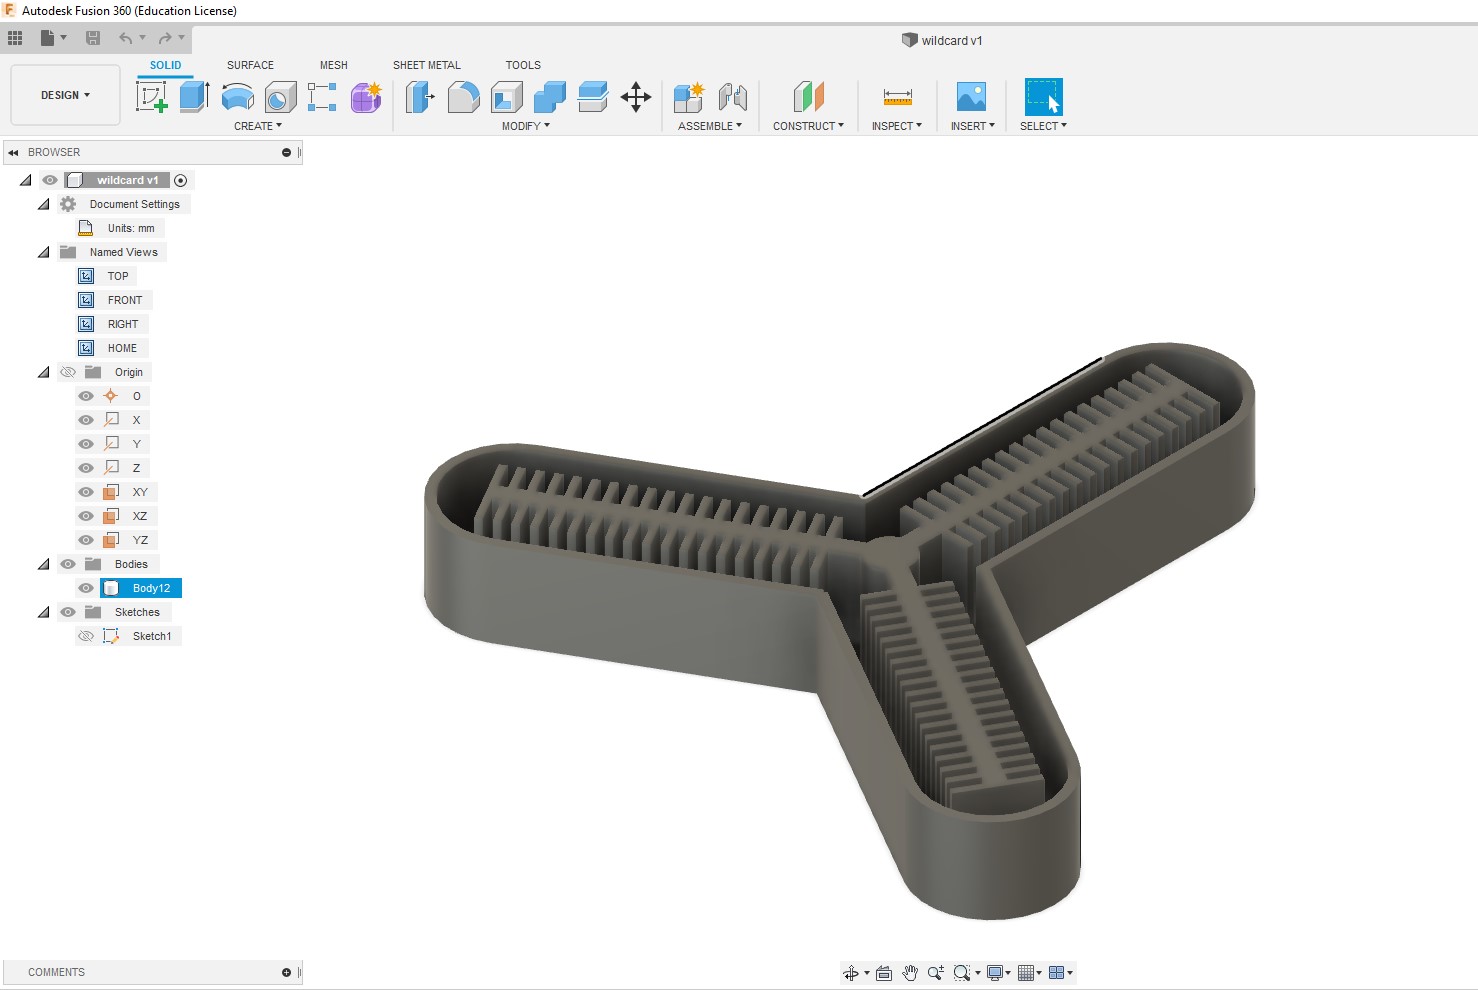
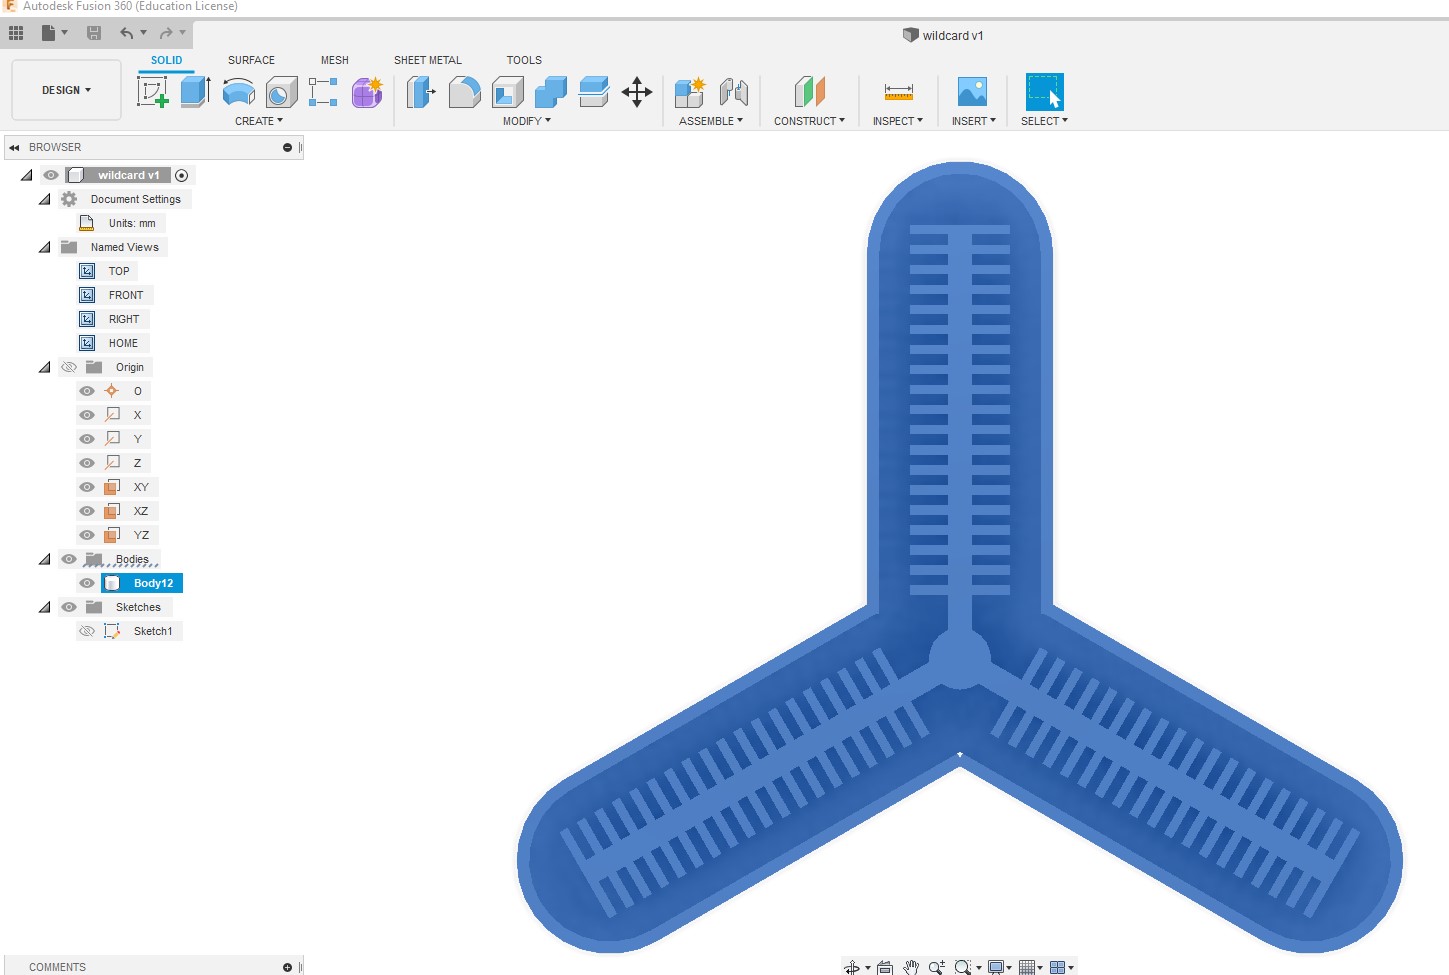
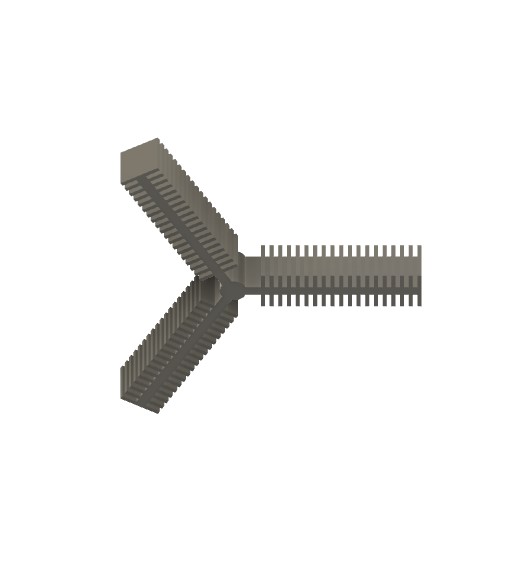
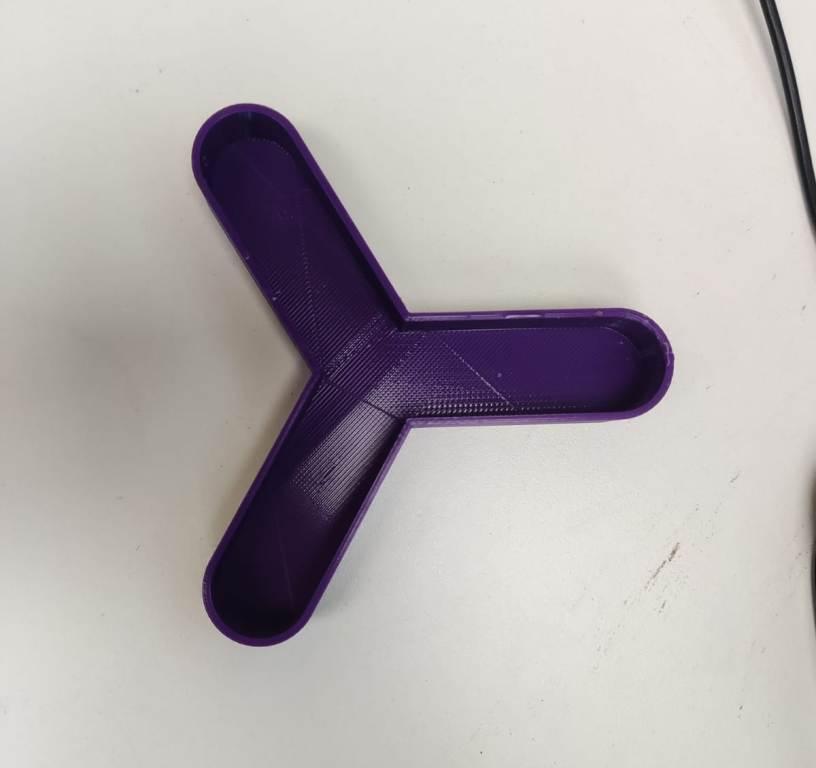
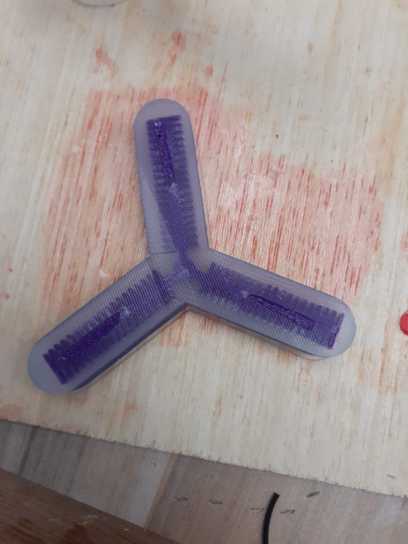
3D Modelling & Printing


Molding and Casting
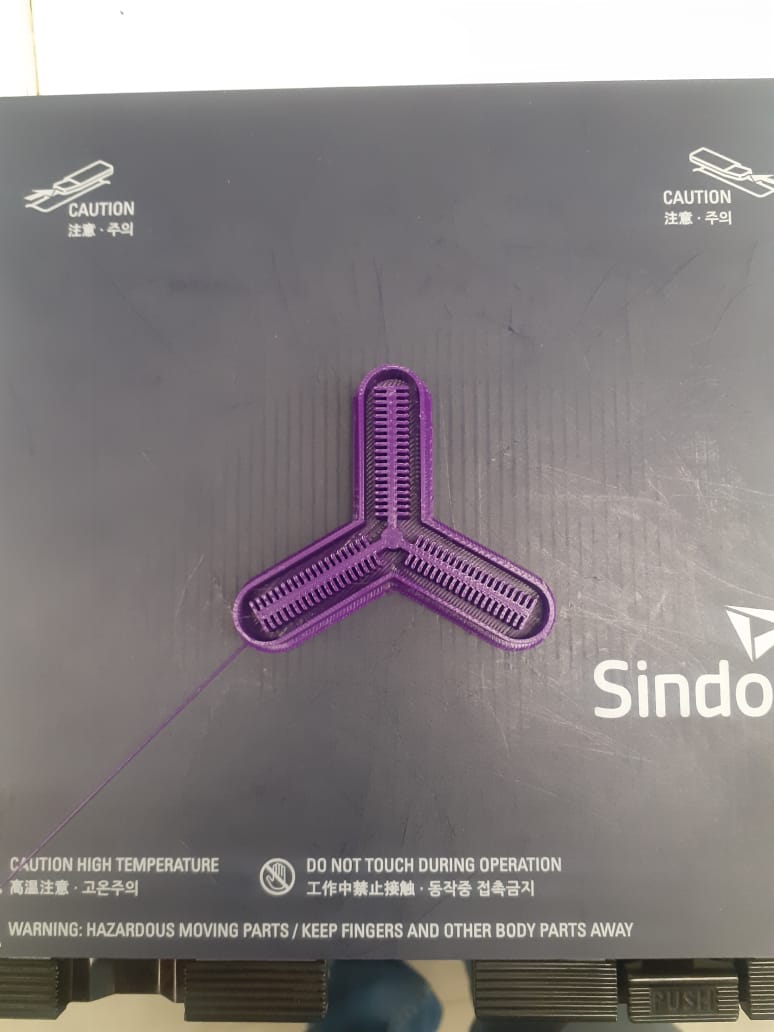
After designing the the soft robot griper mold here i did print

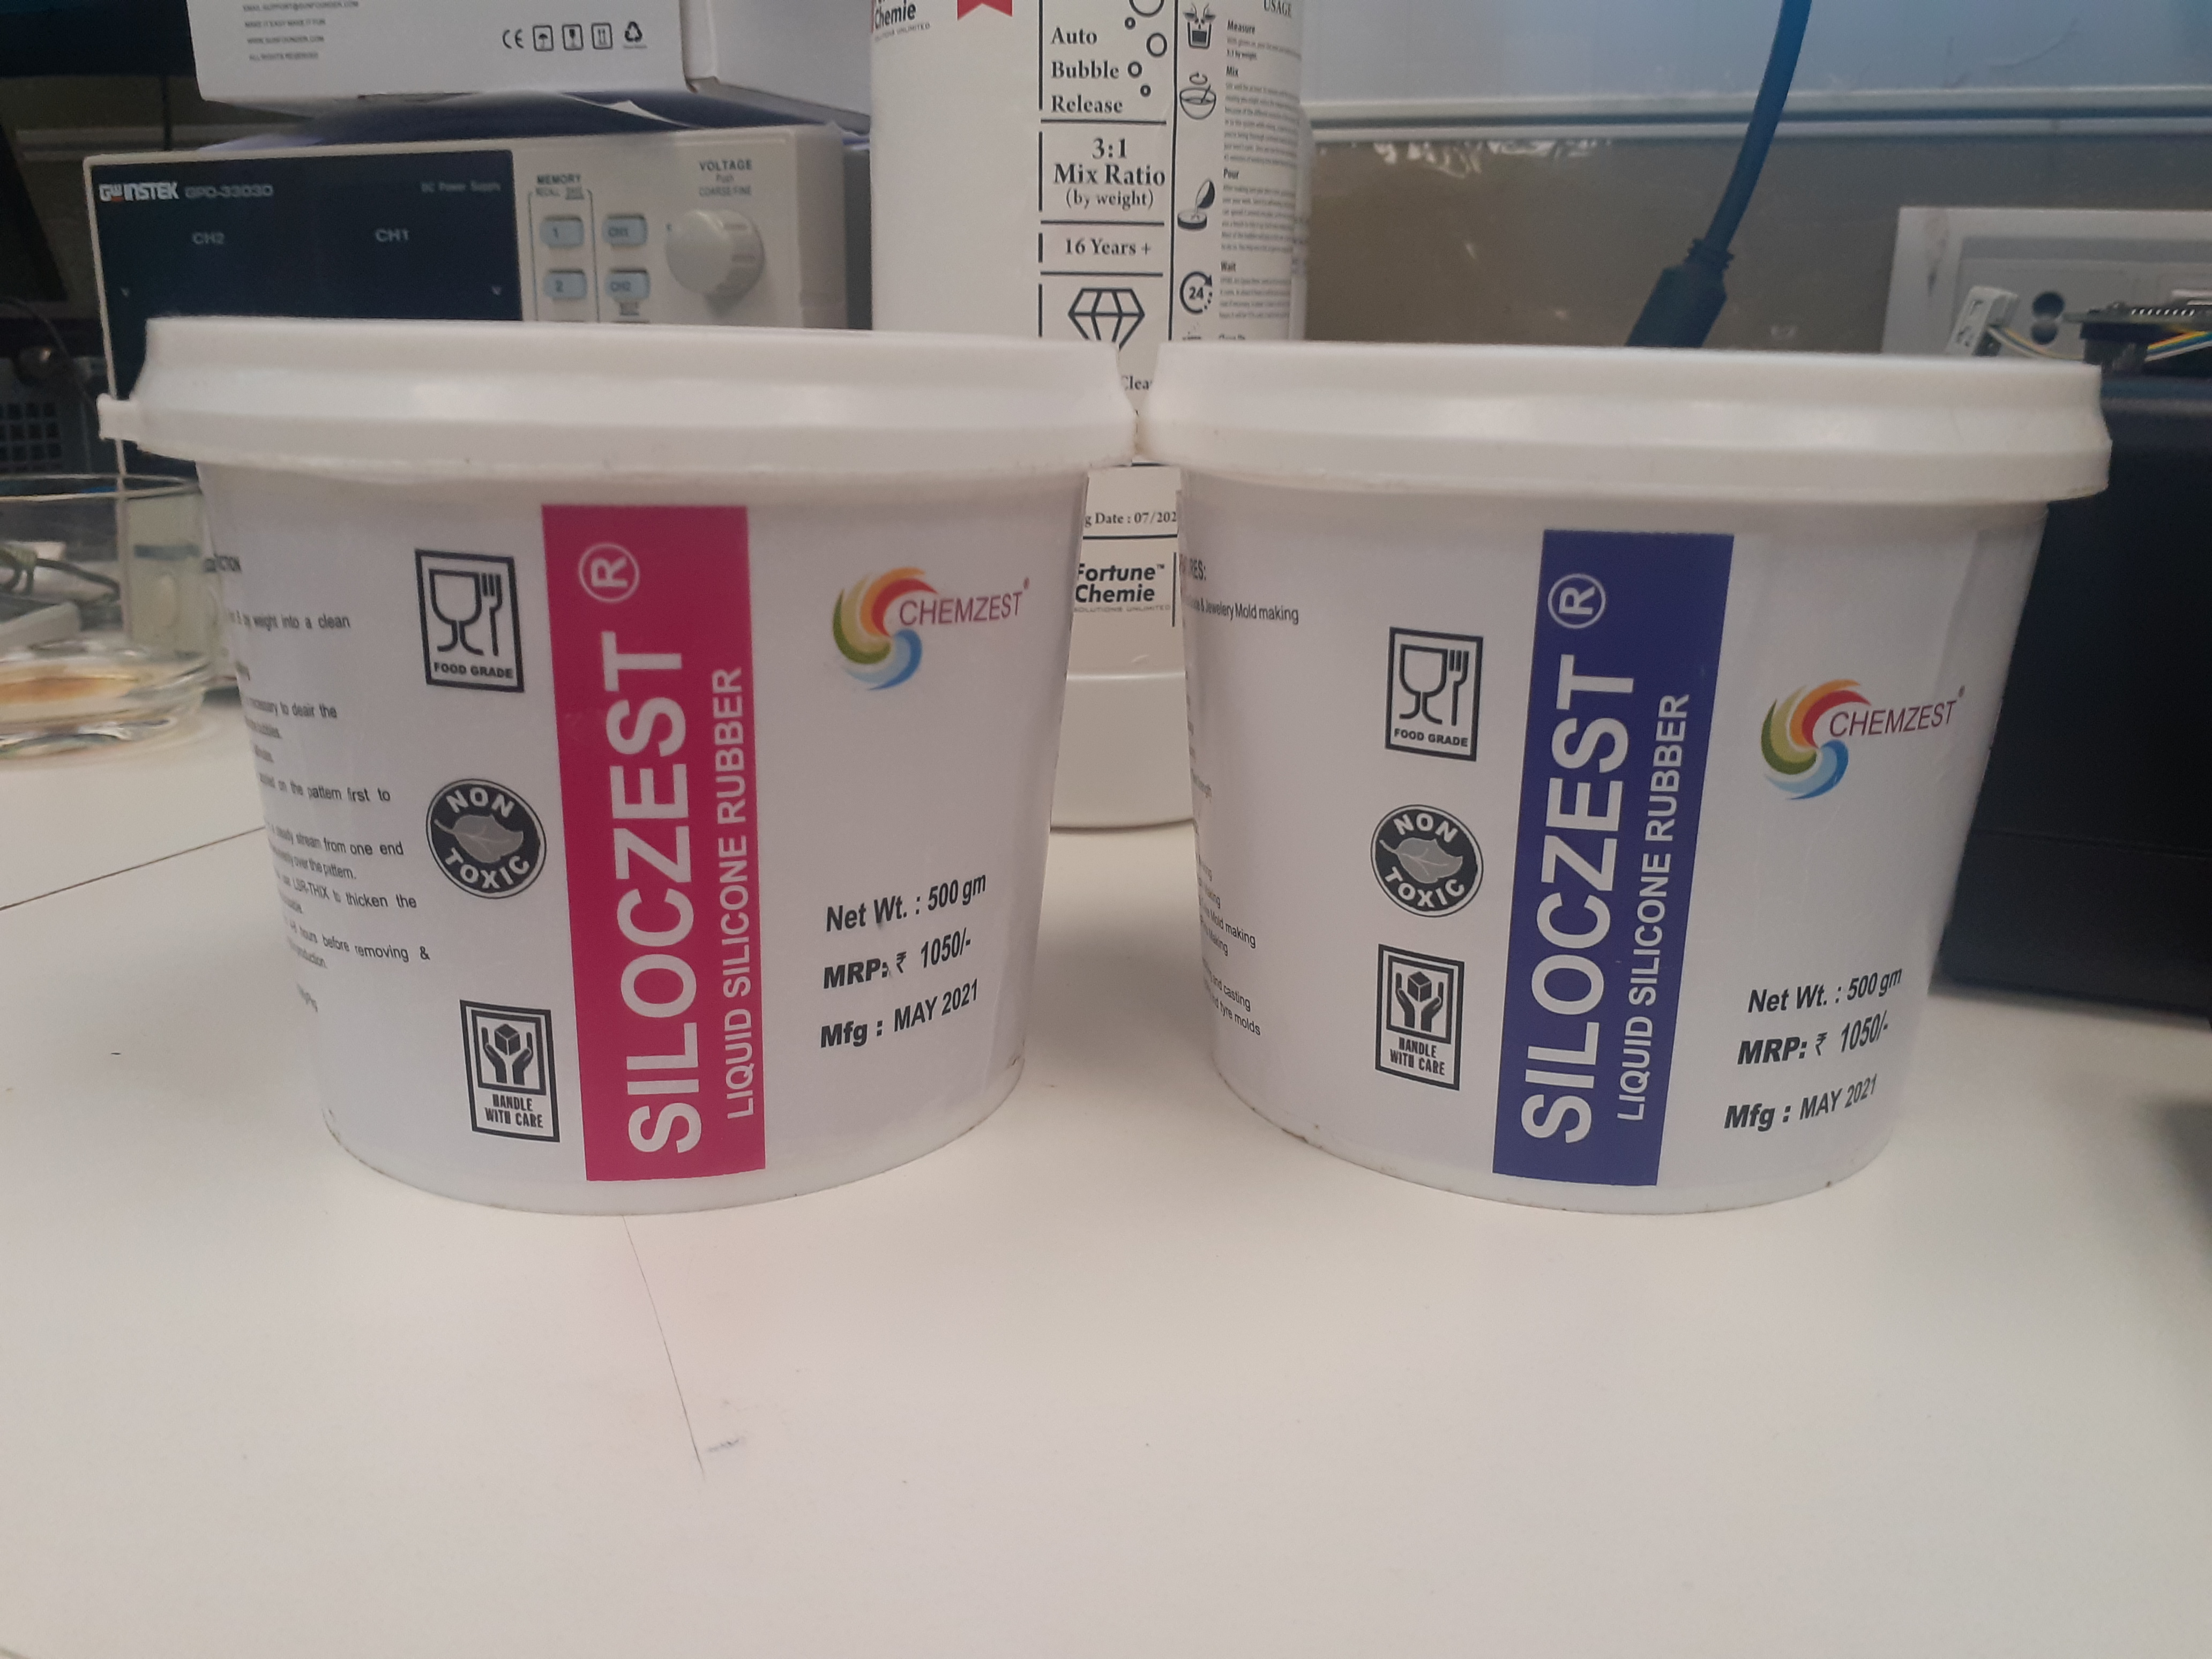
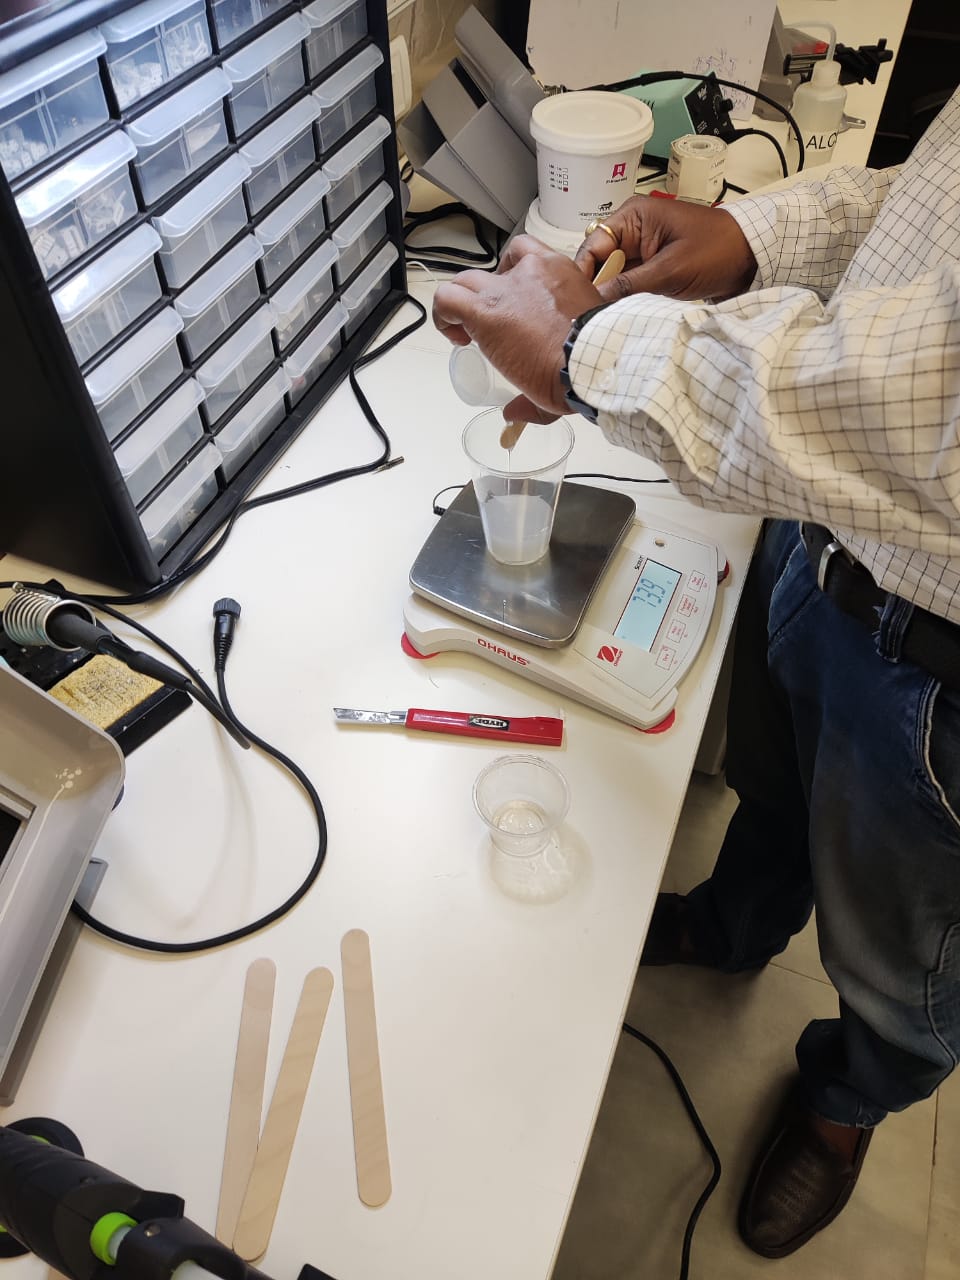
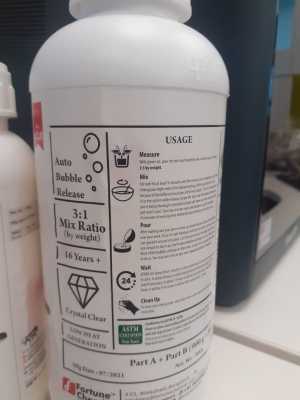
Here i used liquid silicon rubber it have two part A and B as per the use instruction part A & B is 1:1

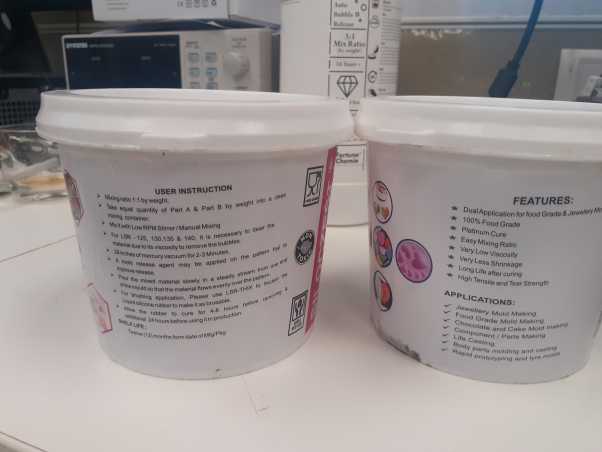
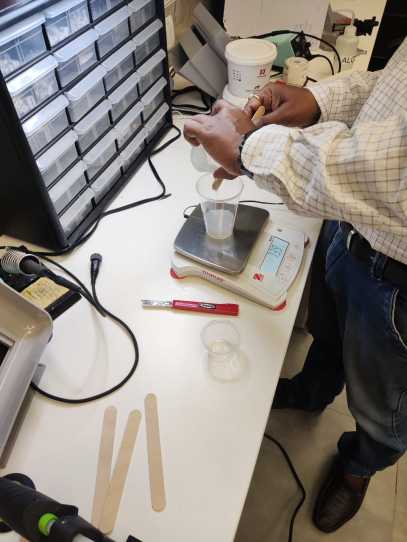

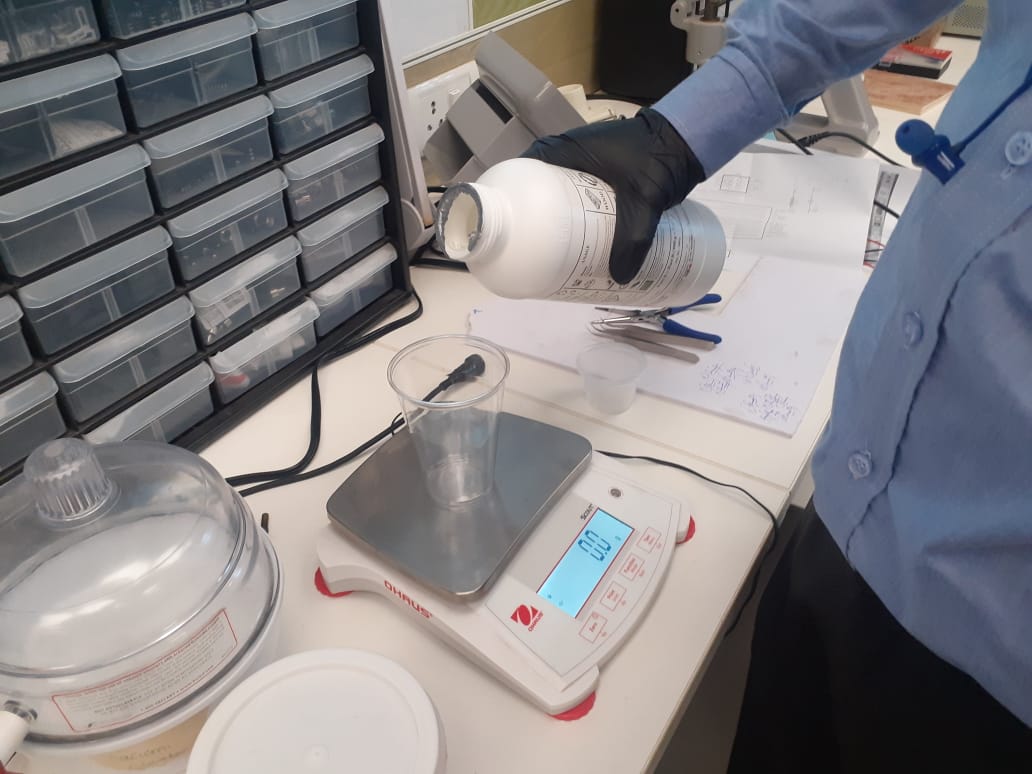
Using wight measuring machine i had taken equal amount of Liquid Silicon Rubber and mixing manually.
and for removing the bubbles Putting M Mercury Vacuum for 2-3 min.

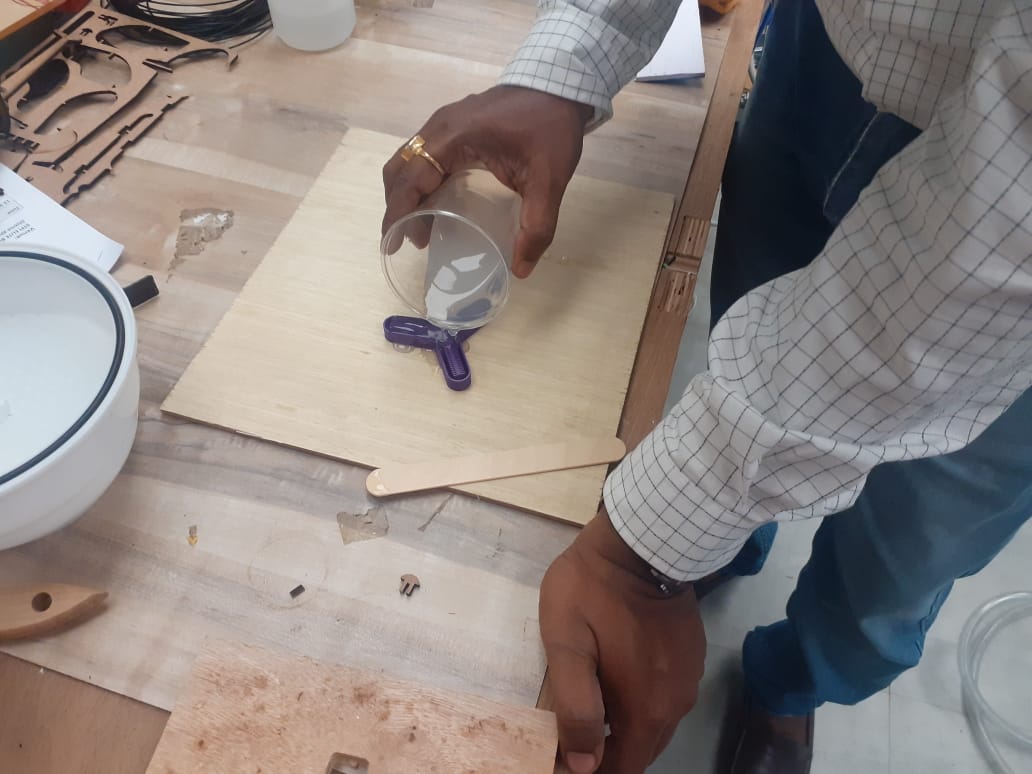
 After removing bubbles i put slowly filled up Gap and it is allowed the rubber for 4 hours
it get cure.
After removing bubbles i put slowly filled up Gap and it is allowed the rubber for 4 hours
it get cure.


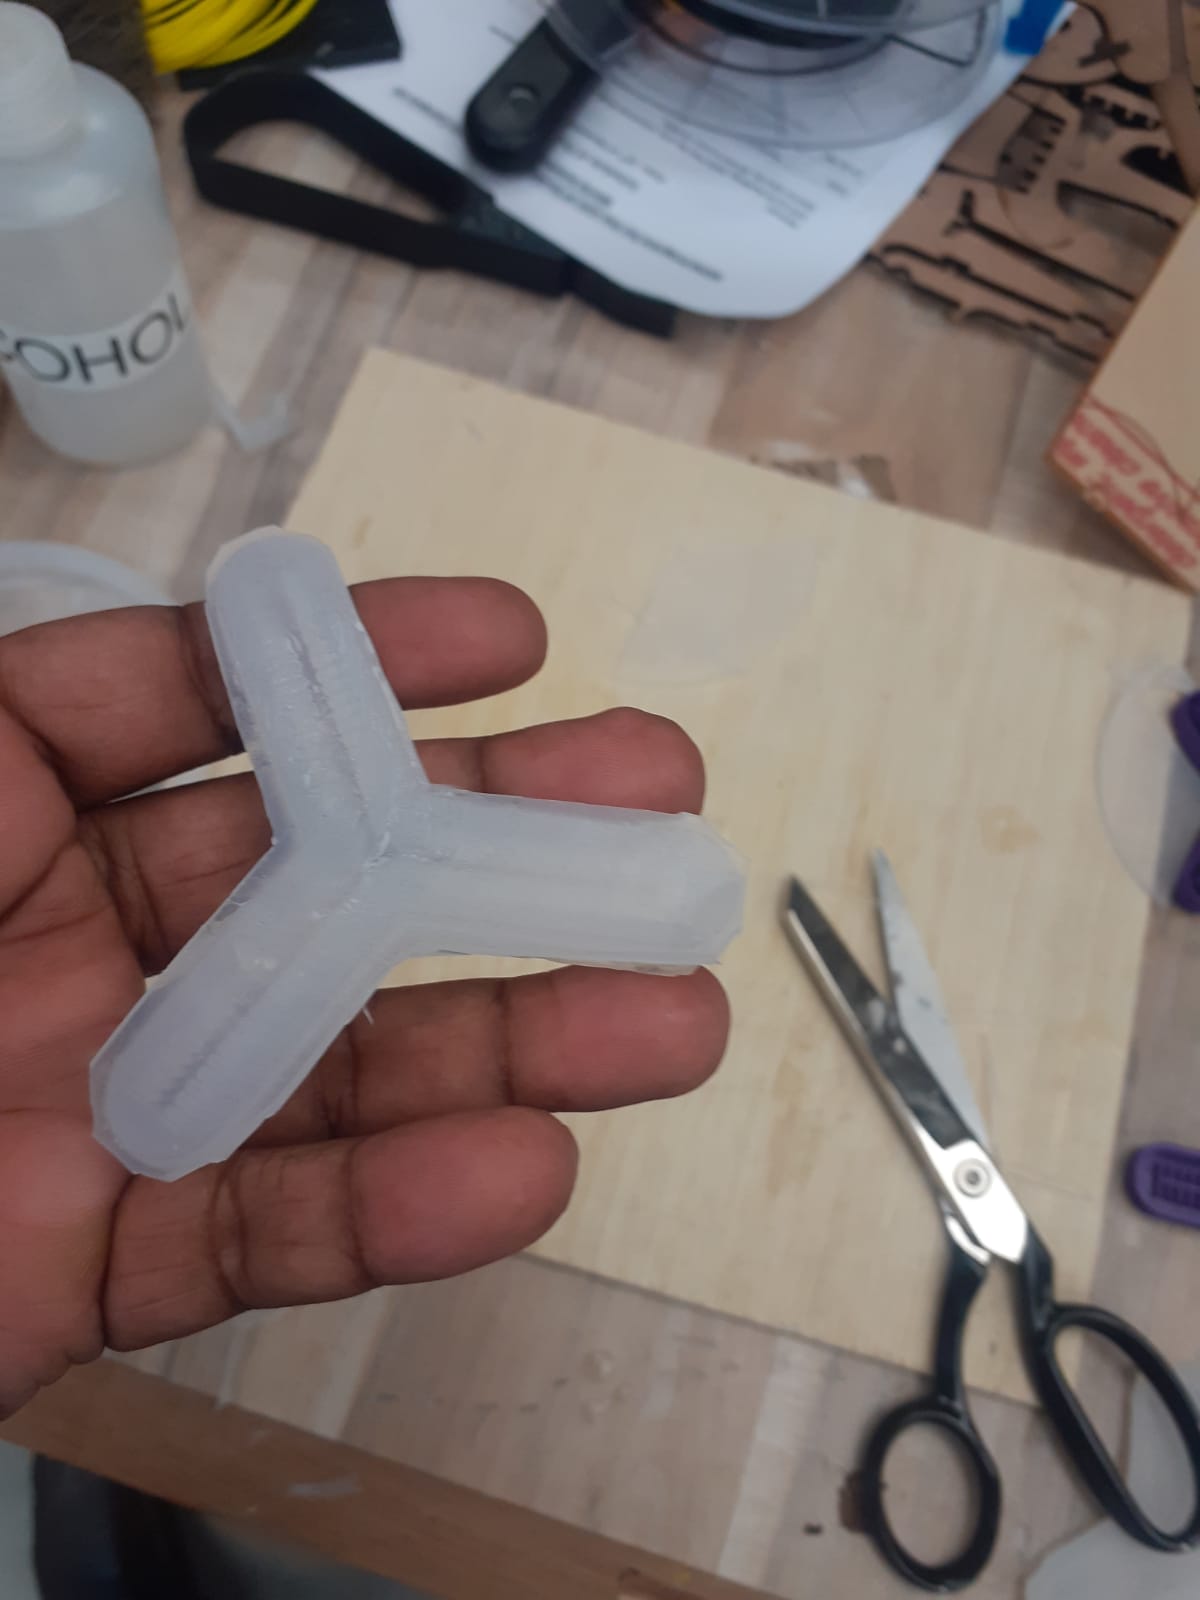
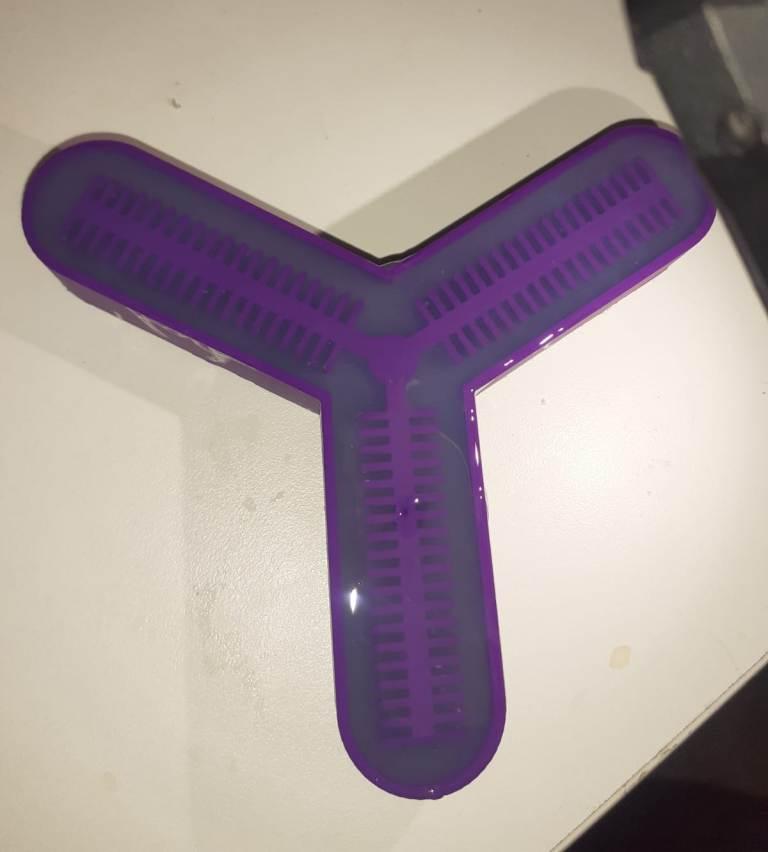
Result:-
I didn't get the result as expected due to the silly mistakes that I had made during the fabrication. The following are the errors that I had made:
I had unnecessary increased the thickness of bottom layer which prevented the silicon to flex as expected
The air cavities got filled by silicon thereby reducing the volume taken by air, thereby reducing the efficiency
.
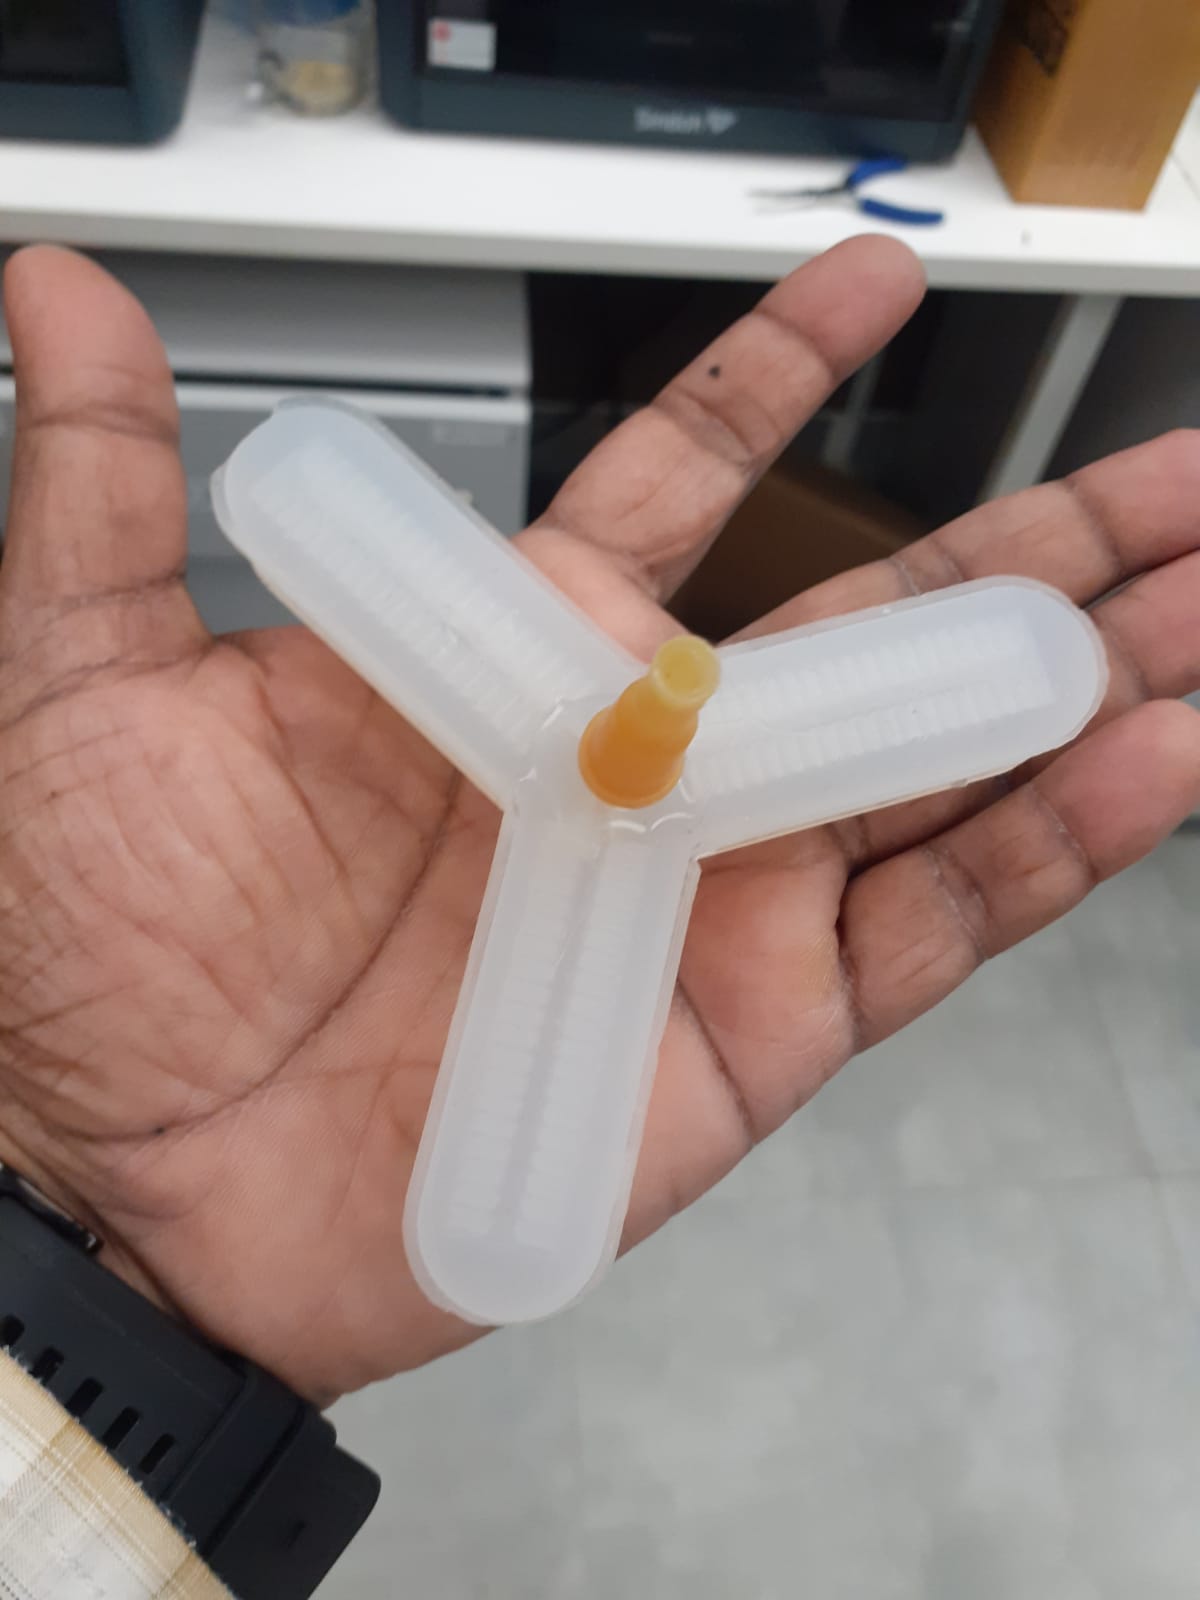
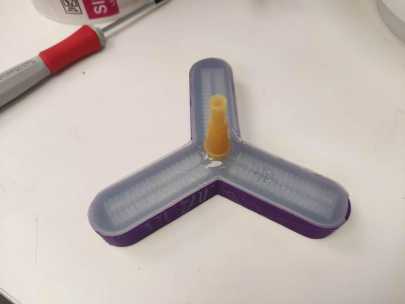
As the above result is not successful,so i did tried in presence of my remote instructor
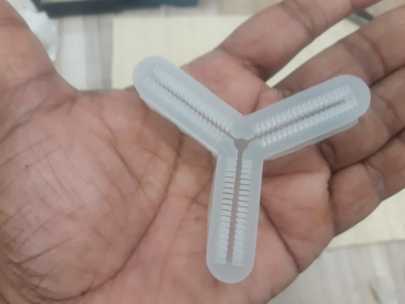
Previously the design was one but i divide the design with the two different parts


3D-Print the two part


Silicon Mold after putting the part inside the cover using little double layer paper
After 3hrs i removed it which is very nice but when i did remove it was facing difficult because it was fitted strongly

Remove the teeth part and put some silicon mix to cover part and put the upper part .
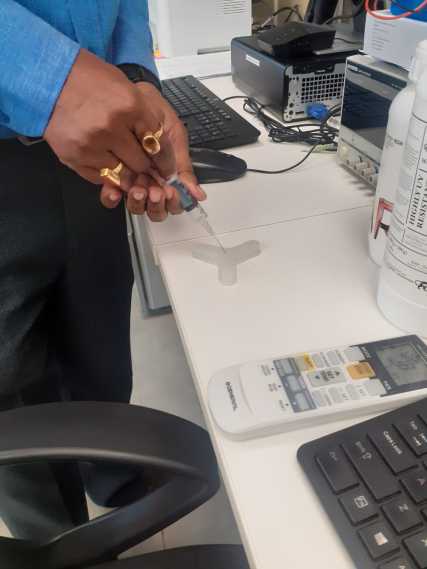
After This I put the cast in the outer Mold inverted with the teeths below side and without applying any pressure so that the surface just may touch the surafce of the silicone solution lying in the outer mold so that it may create the thin layer which may close the openings.During this process I inserted one rubber tube nozzle so that i can fill the air inside the mini catcher.,


After this when i was pumping air into it i found that the rubber nozzle didn't fixed to the silicone rubber solution and it didn't worked.,So I filled the air any how in the soft robot.It worked little bit but it didnt worked perfectly fine.
Here is the video of the excercise.
Composite
composite material(also called a composition material or shortened to composite, which is the common name) is a material which is produced from two or more constituent materials.These constituent materials have notably dissimilar chemical or physical properties and are merged to create a material with properties unlike the individual elements. Within the finished structure, the individual elements remain separate and distinct, distinguishing composites from mixtures and solid solutions.
Composite work flow:-
Step -1:Piece/Mold Design
Form function, How easy is to build and what type of mold is needed
Step- 2 : Composite Preparation
Available materials and additives, time for forging and curing
Step -3 Finished Object:
Result- condition and lessons learned
My activity:-
Composite is very
new to me,But at the time out remote instructor visiting to STPI fablab he has explained and guided to complete the test
pocket for learning.
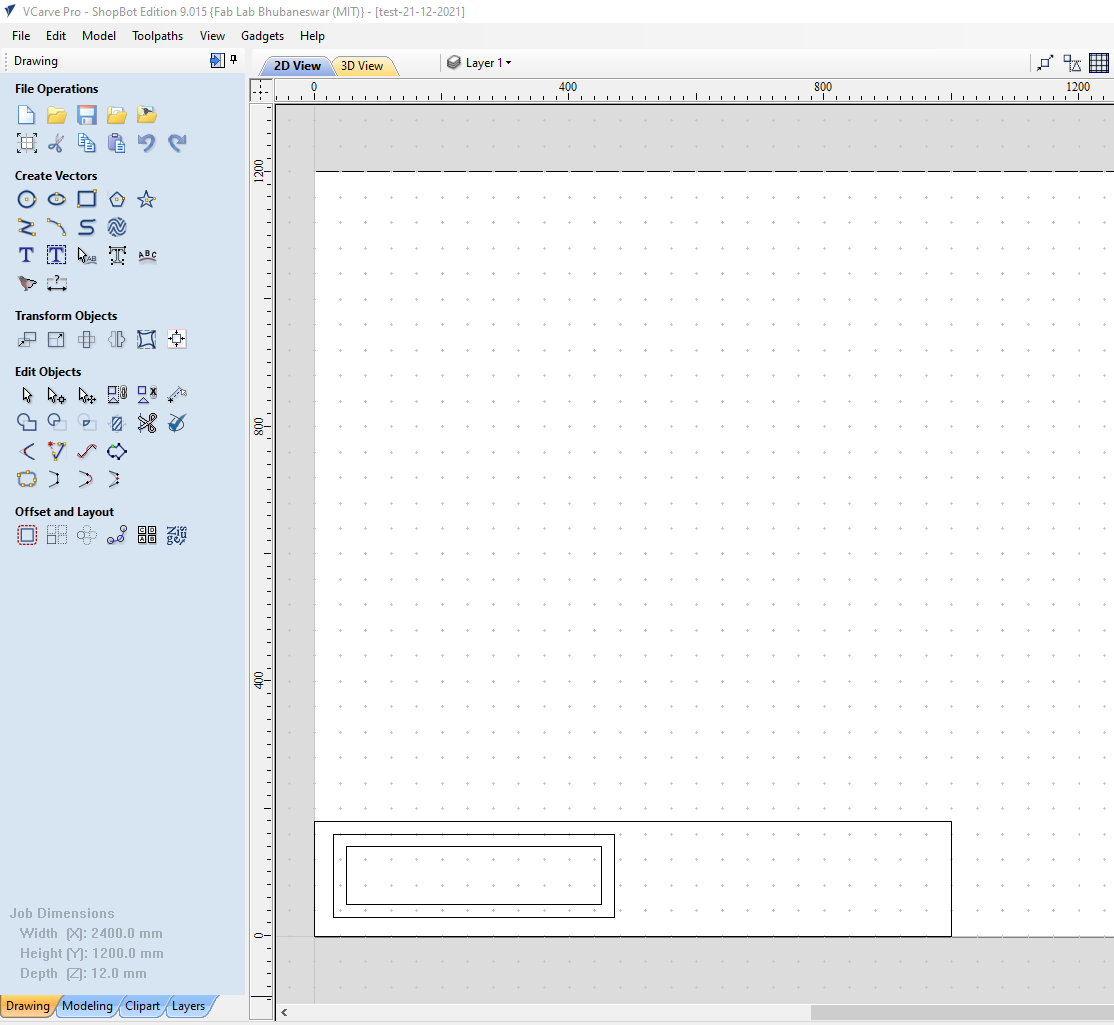
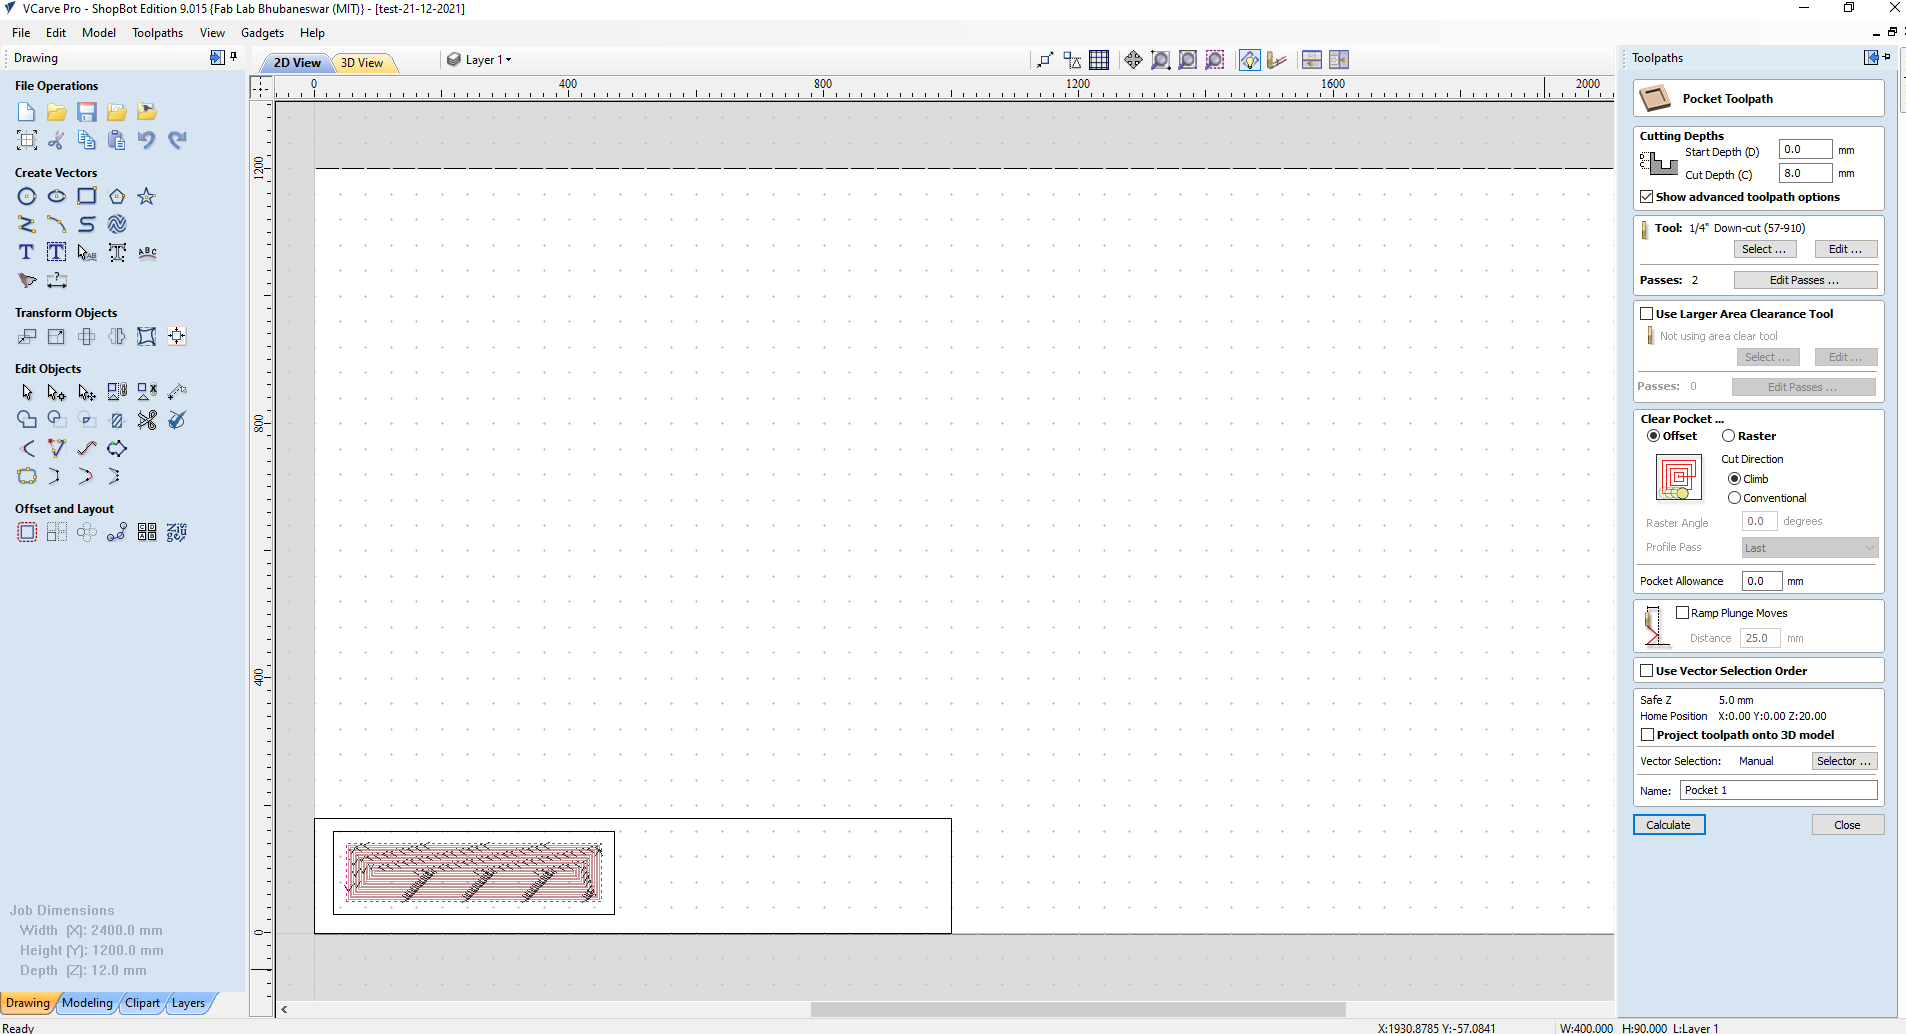
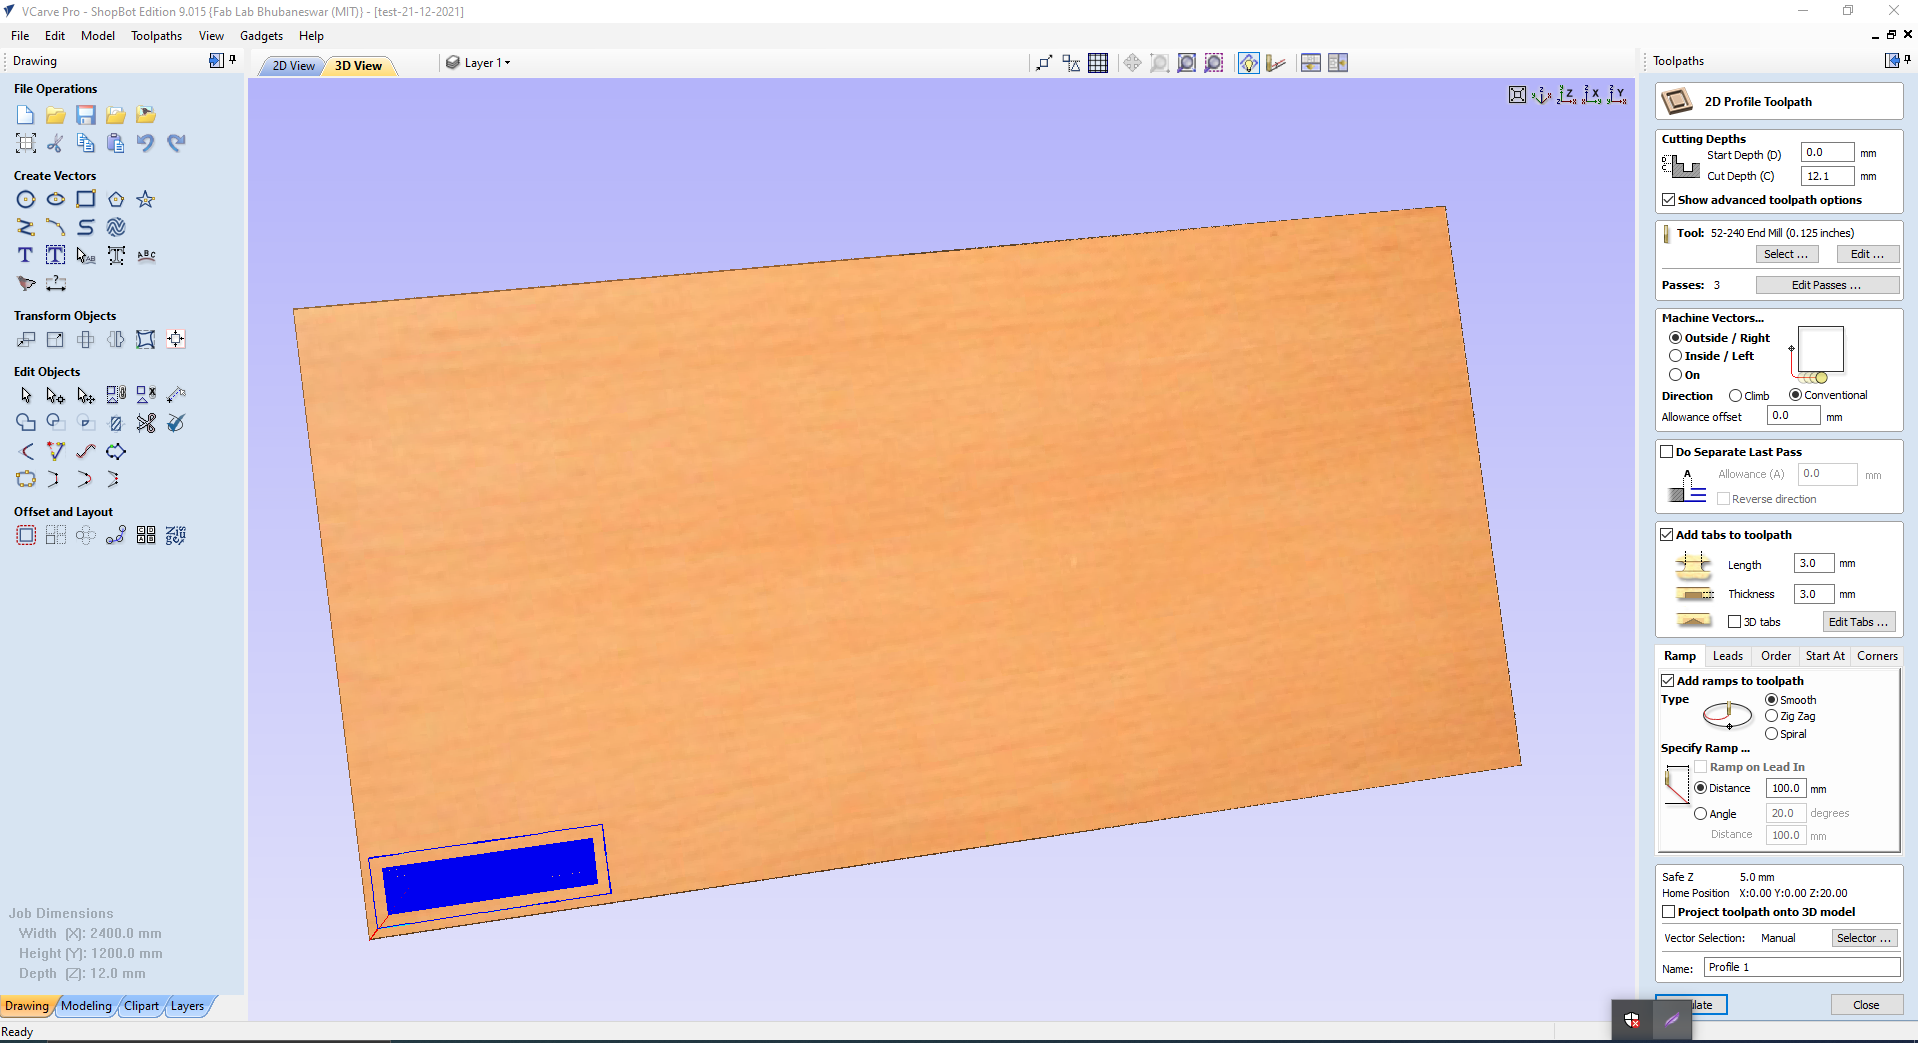
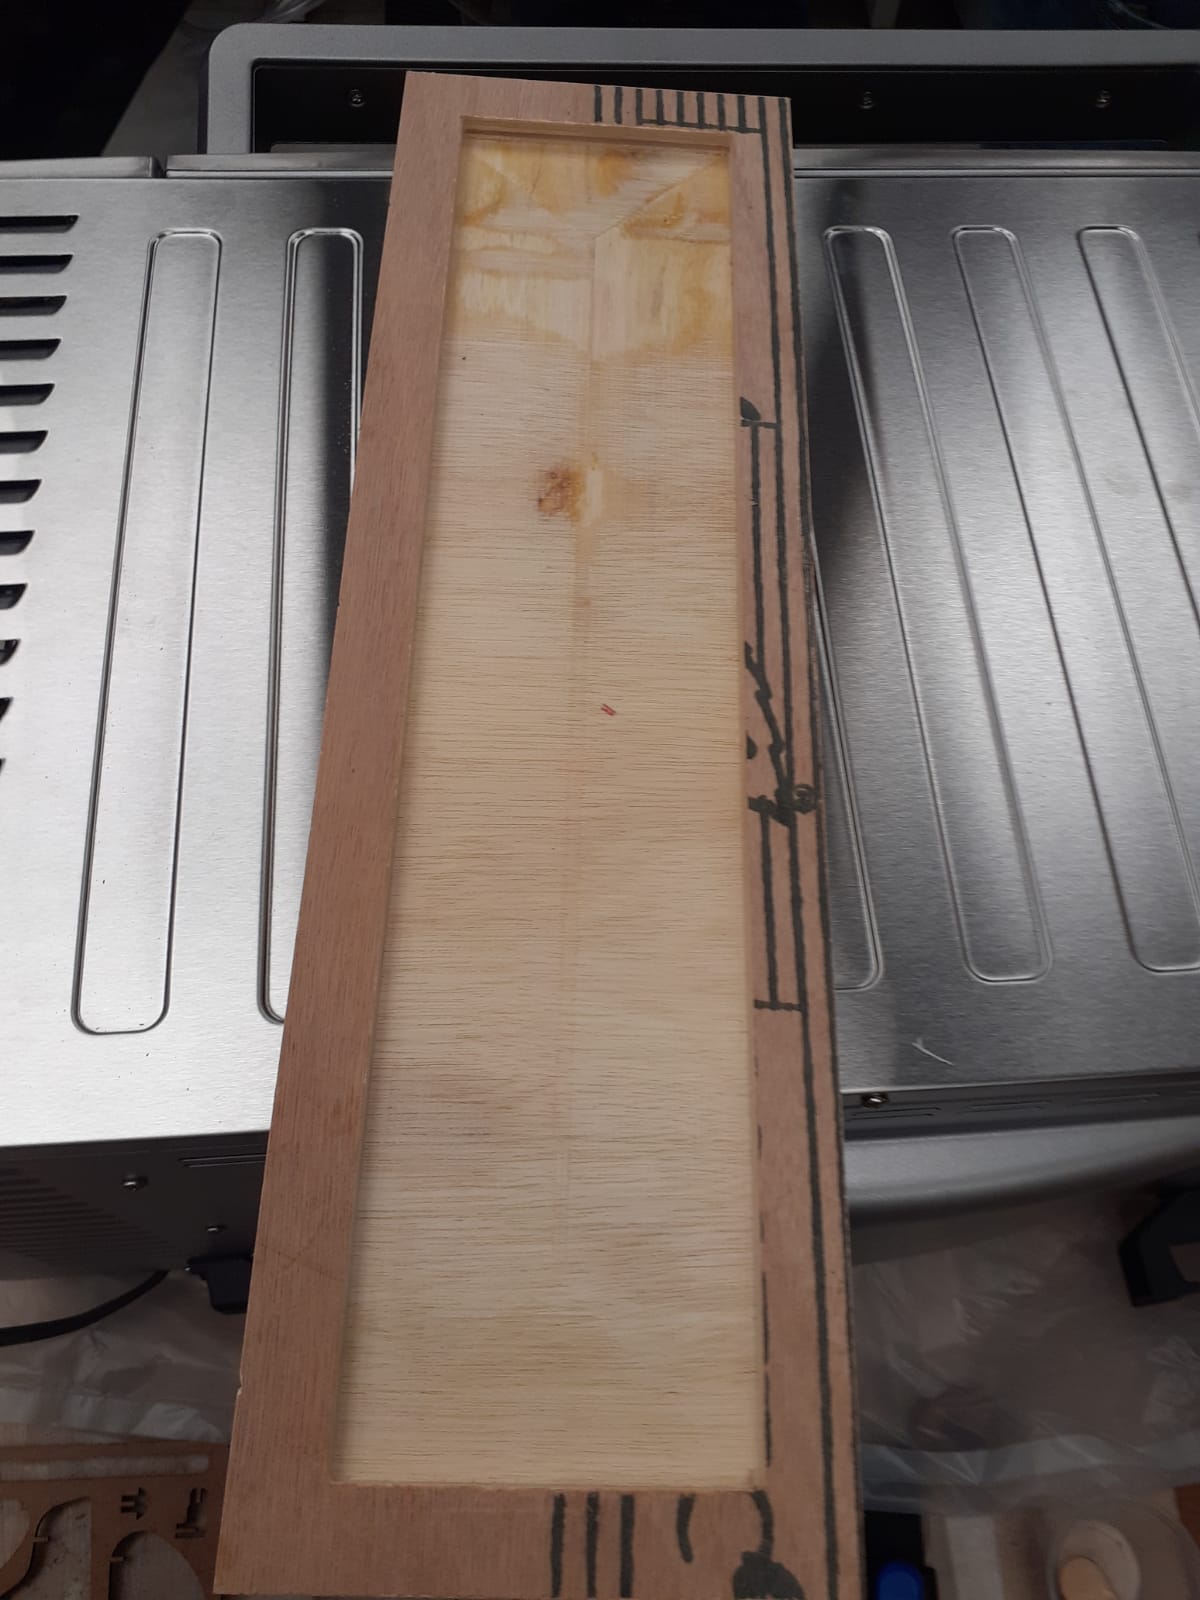
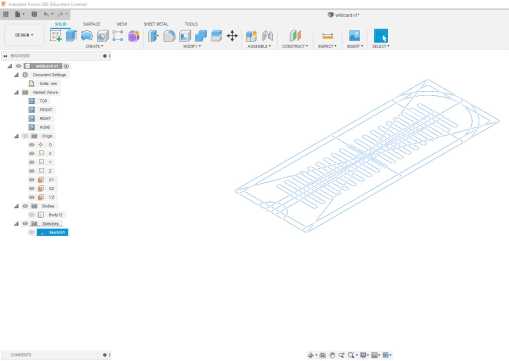
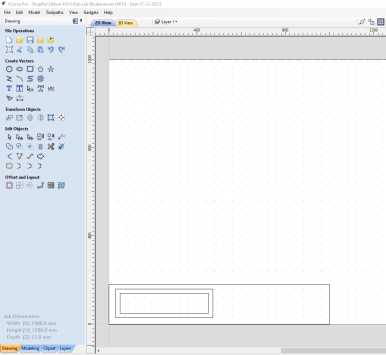
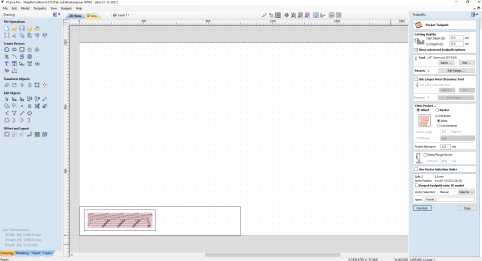
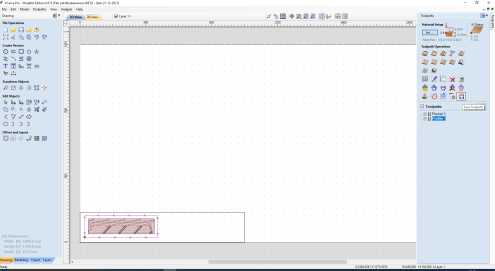
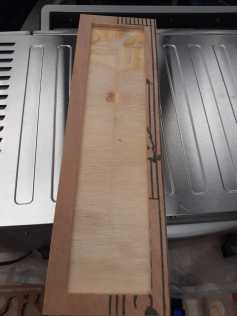
Initially the small a basic designing was made in v-carve pro for making a pocket and make mold piece through the shope-bote CNC
CAD designing and Milling
This is the basic deigning
in v-carve pro where the pocket is inner width 400mm,Depth is 8mm, Height is 90mm external width 440mm height is 130mm.
once deigning then select tool bit i.e 57-910 and create tool path with tab for profile and pocket and download the .sbp file for Milling though Shopebot.

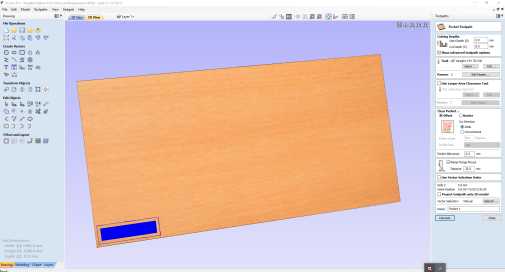
Defined the origin for x,y and z for my job in shopebot and upload the .sbp file
for milling and the out come is as desired.

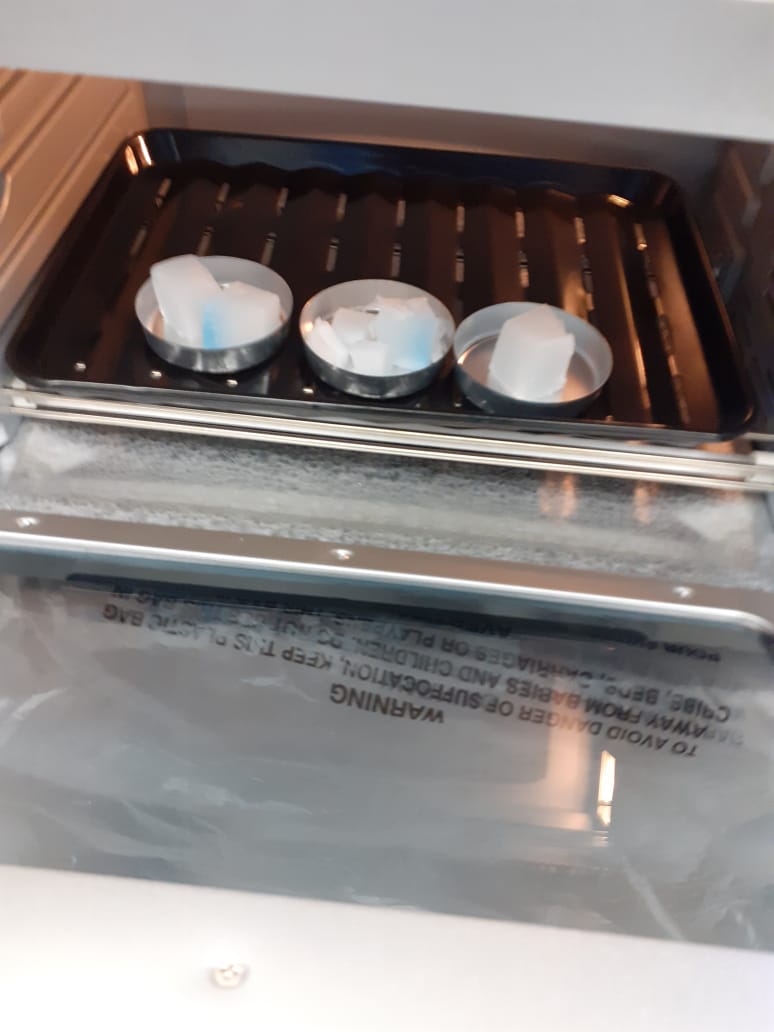
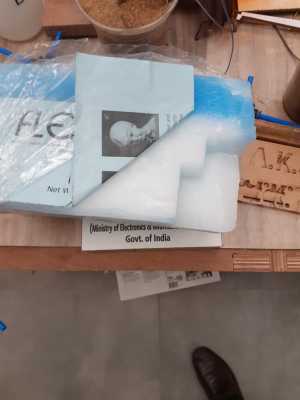
Preparation of wax
wax is required for coat-ting in the work piece.This will help to remove the final composite easily from the work piece.
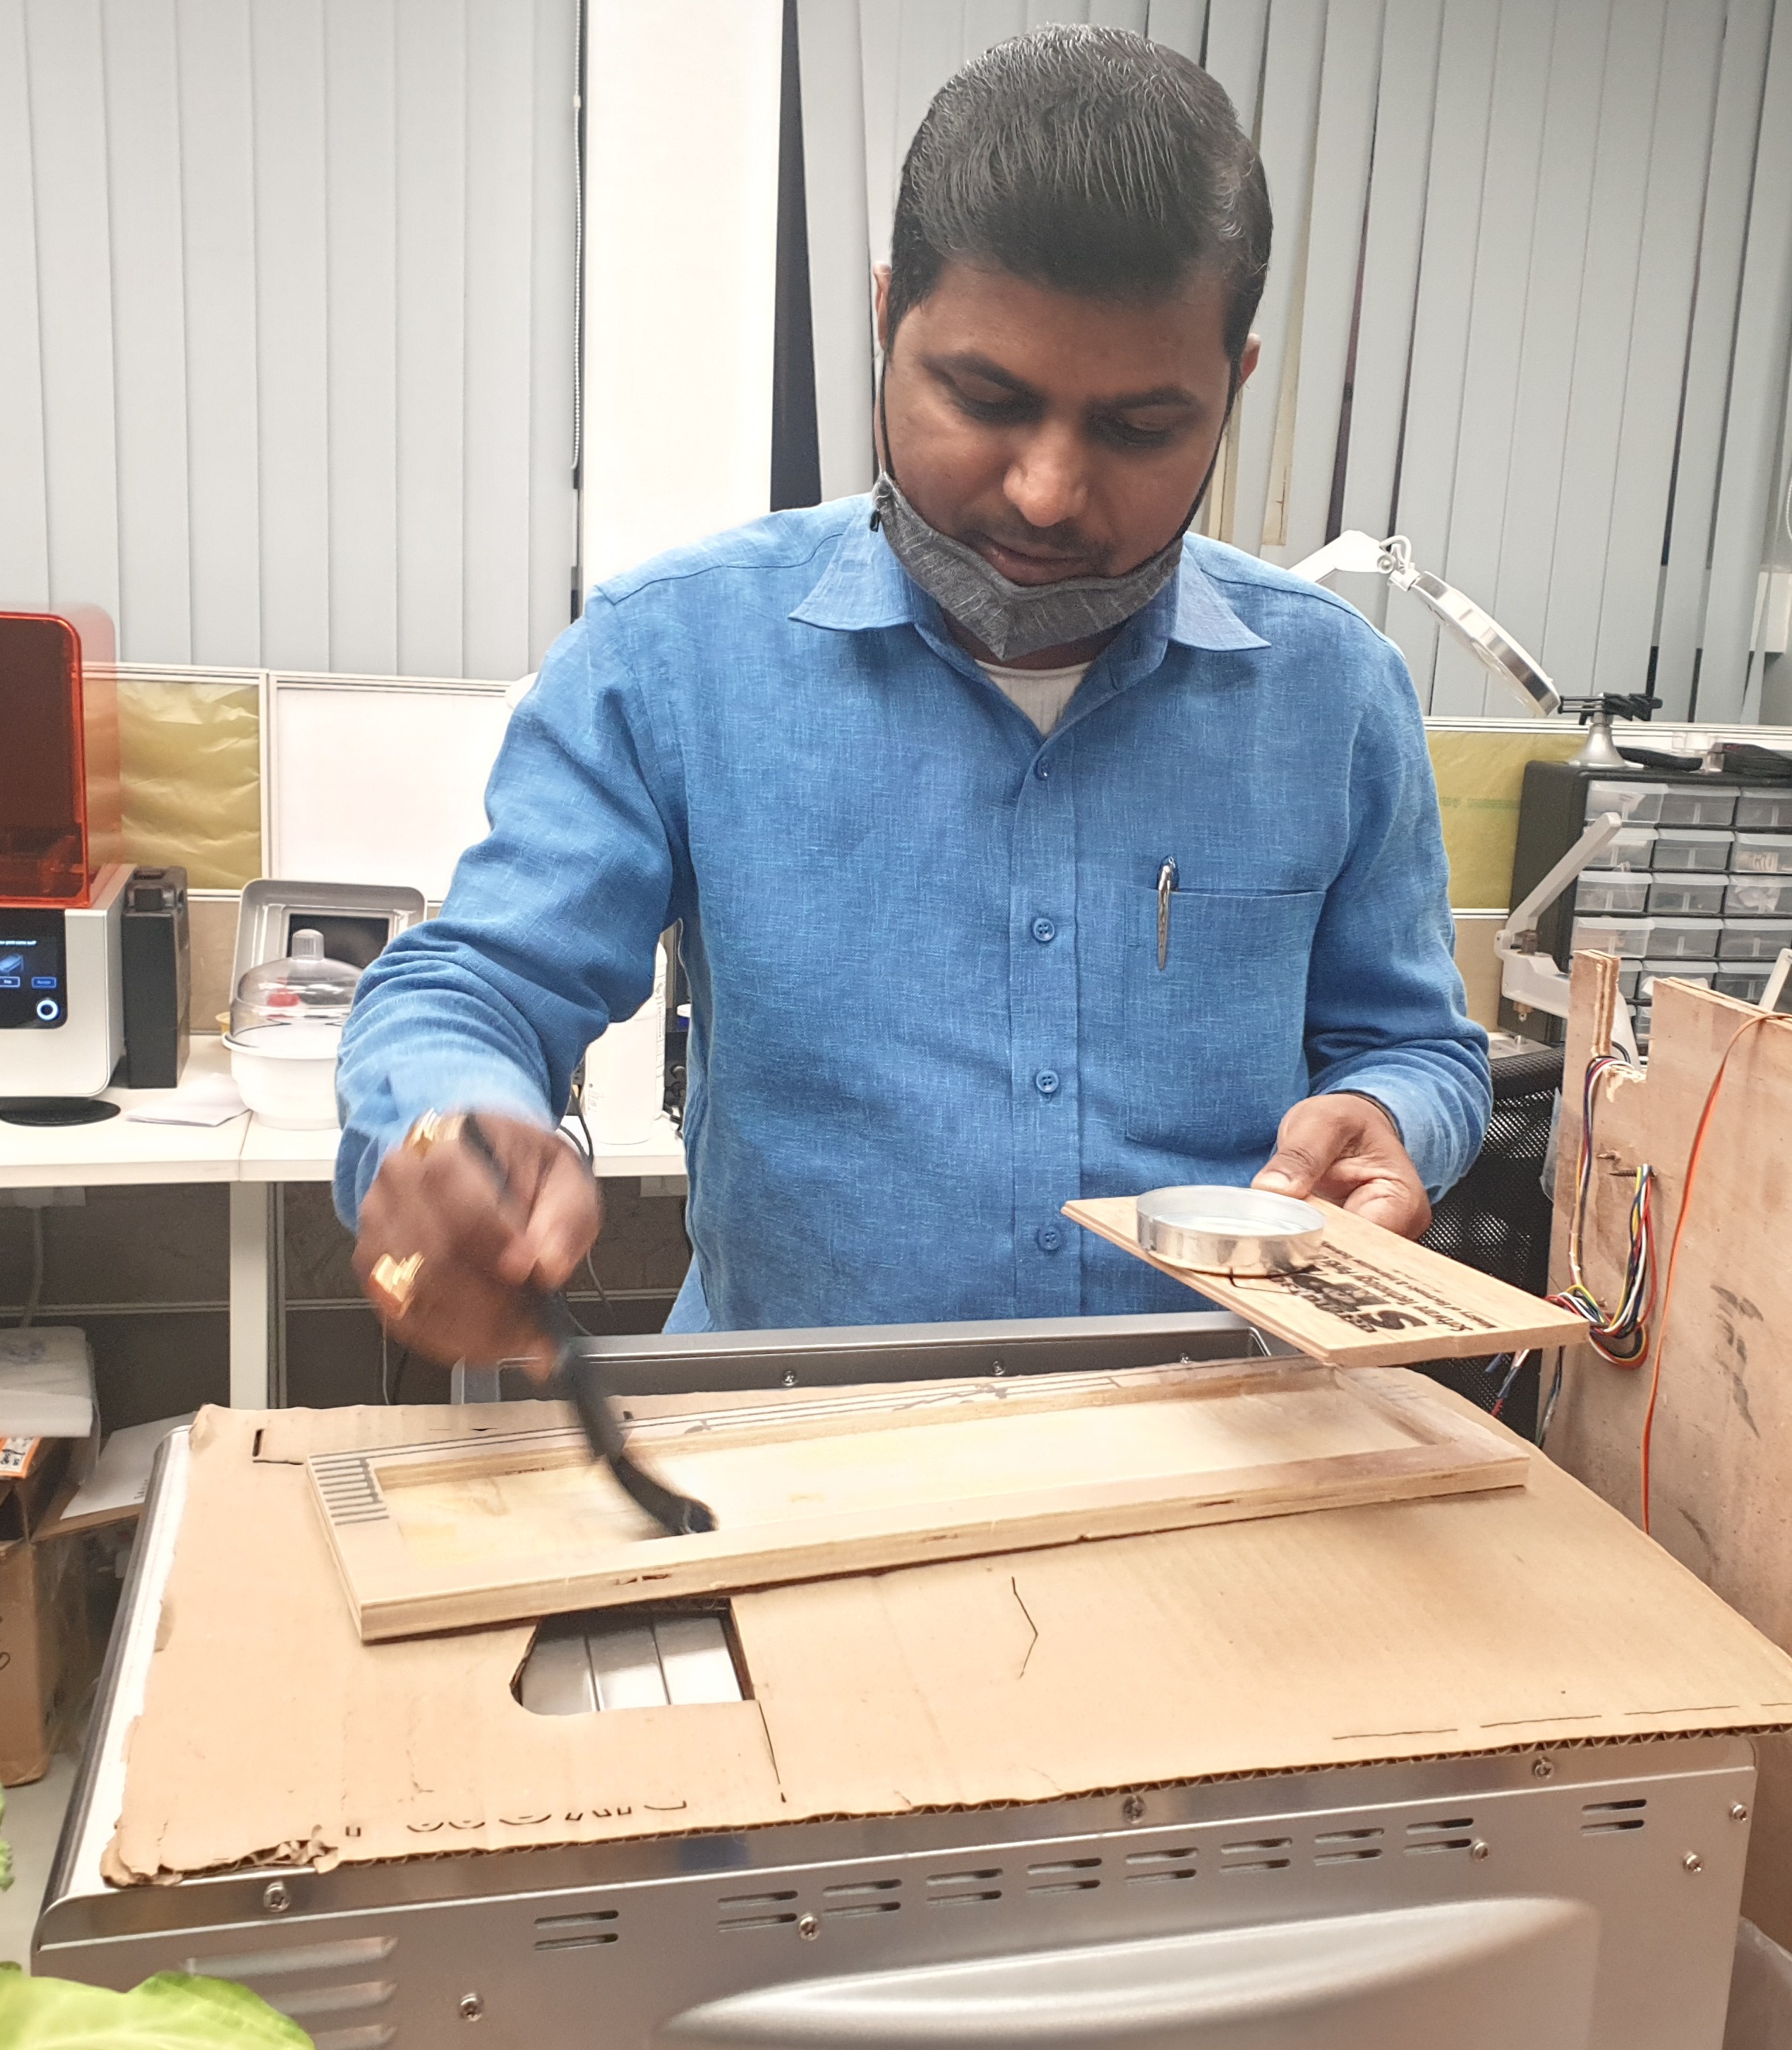
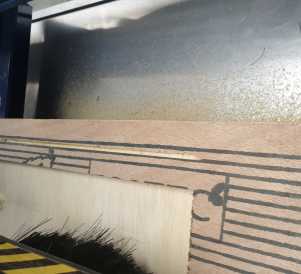
initially cut the wax from wax piece in fab inventory then melting through the oven and put in the work piece with the help of brush.
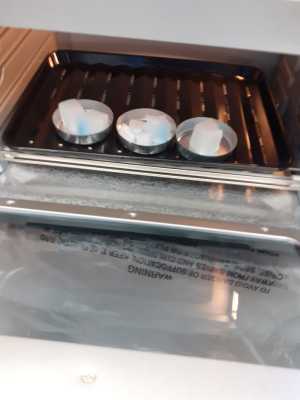
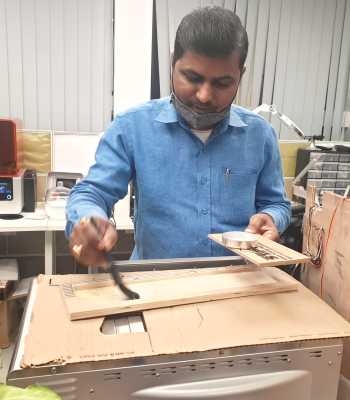
i was coating wax in the wooden pocket with thick layer.but it was not proper so It needs to clear the wax with the help of heat so i used hair dryer as hot gun was not working.
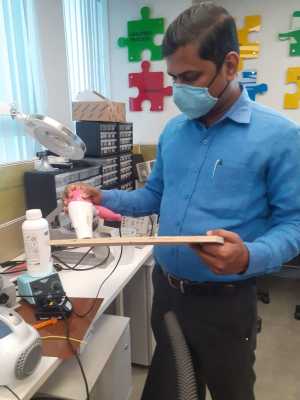
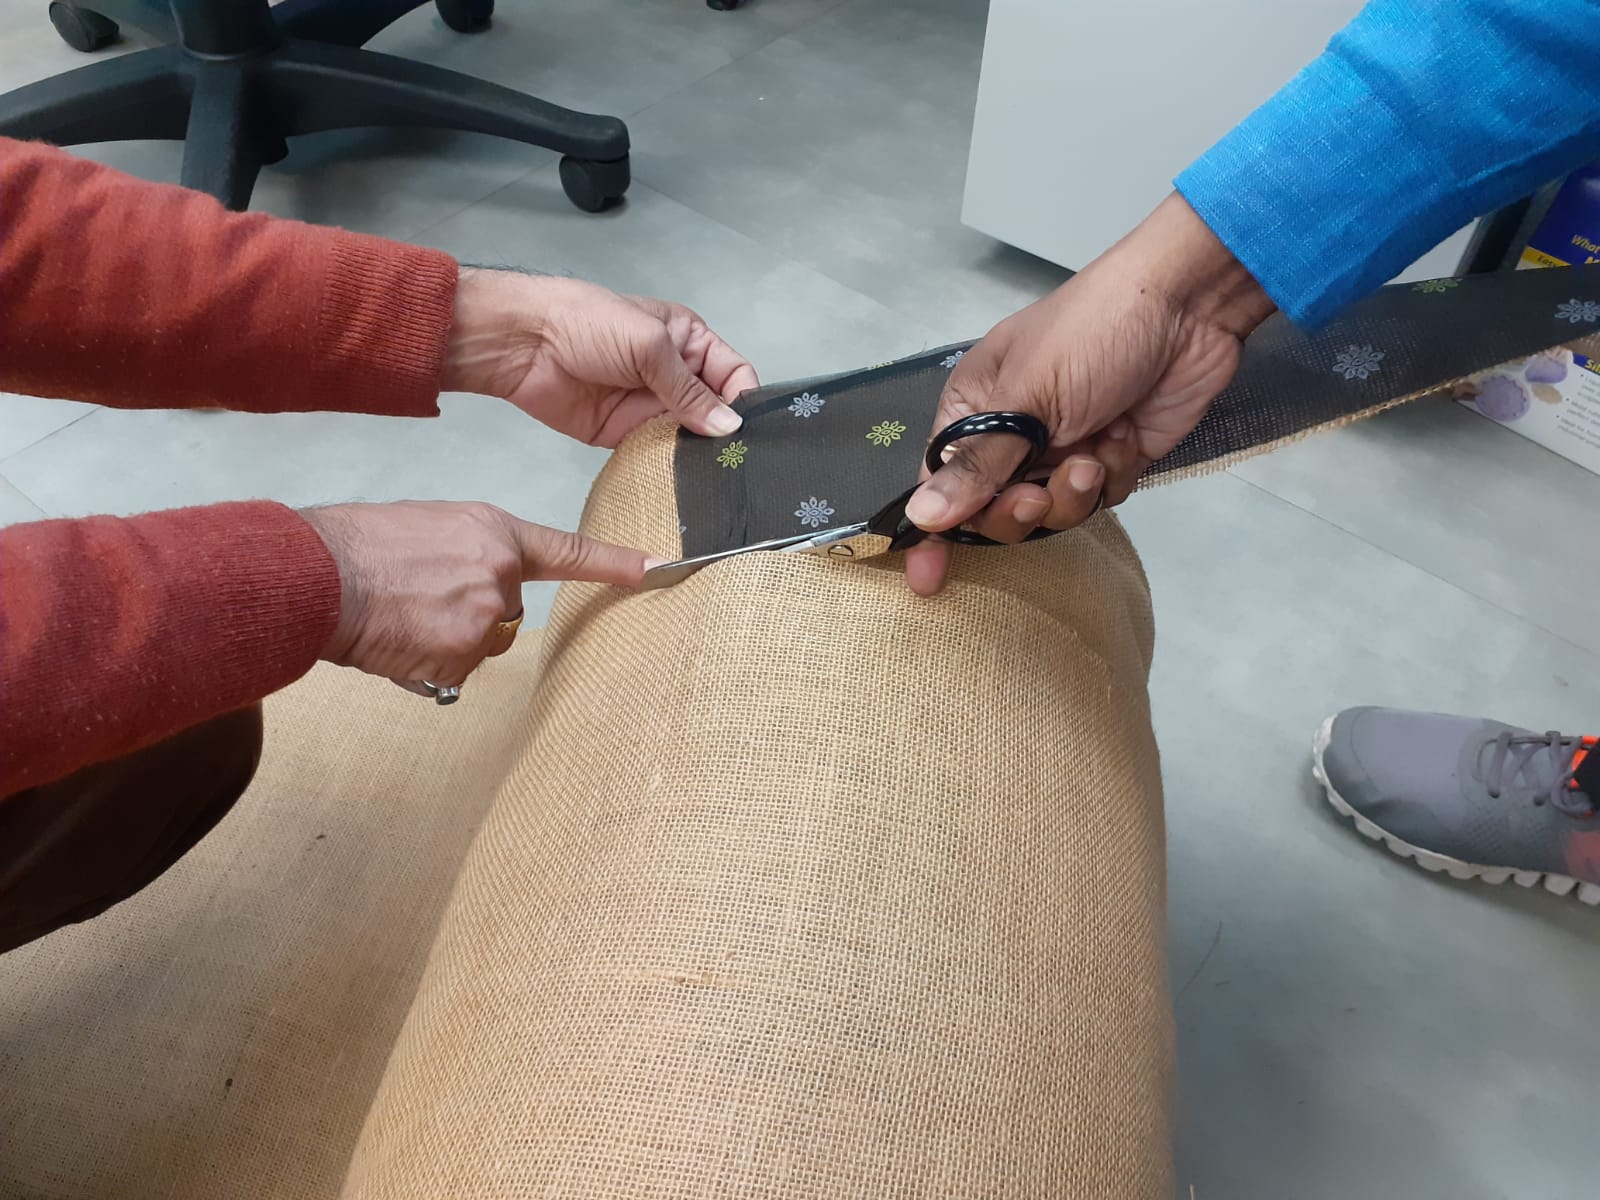
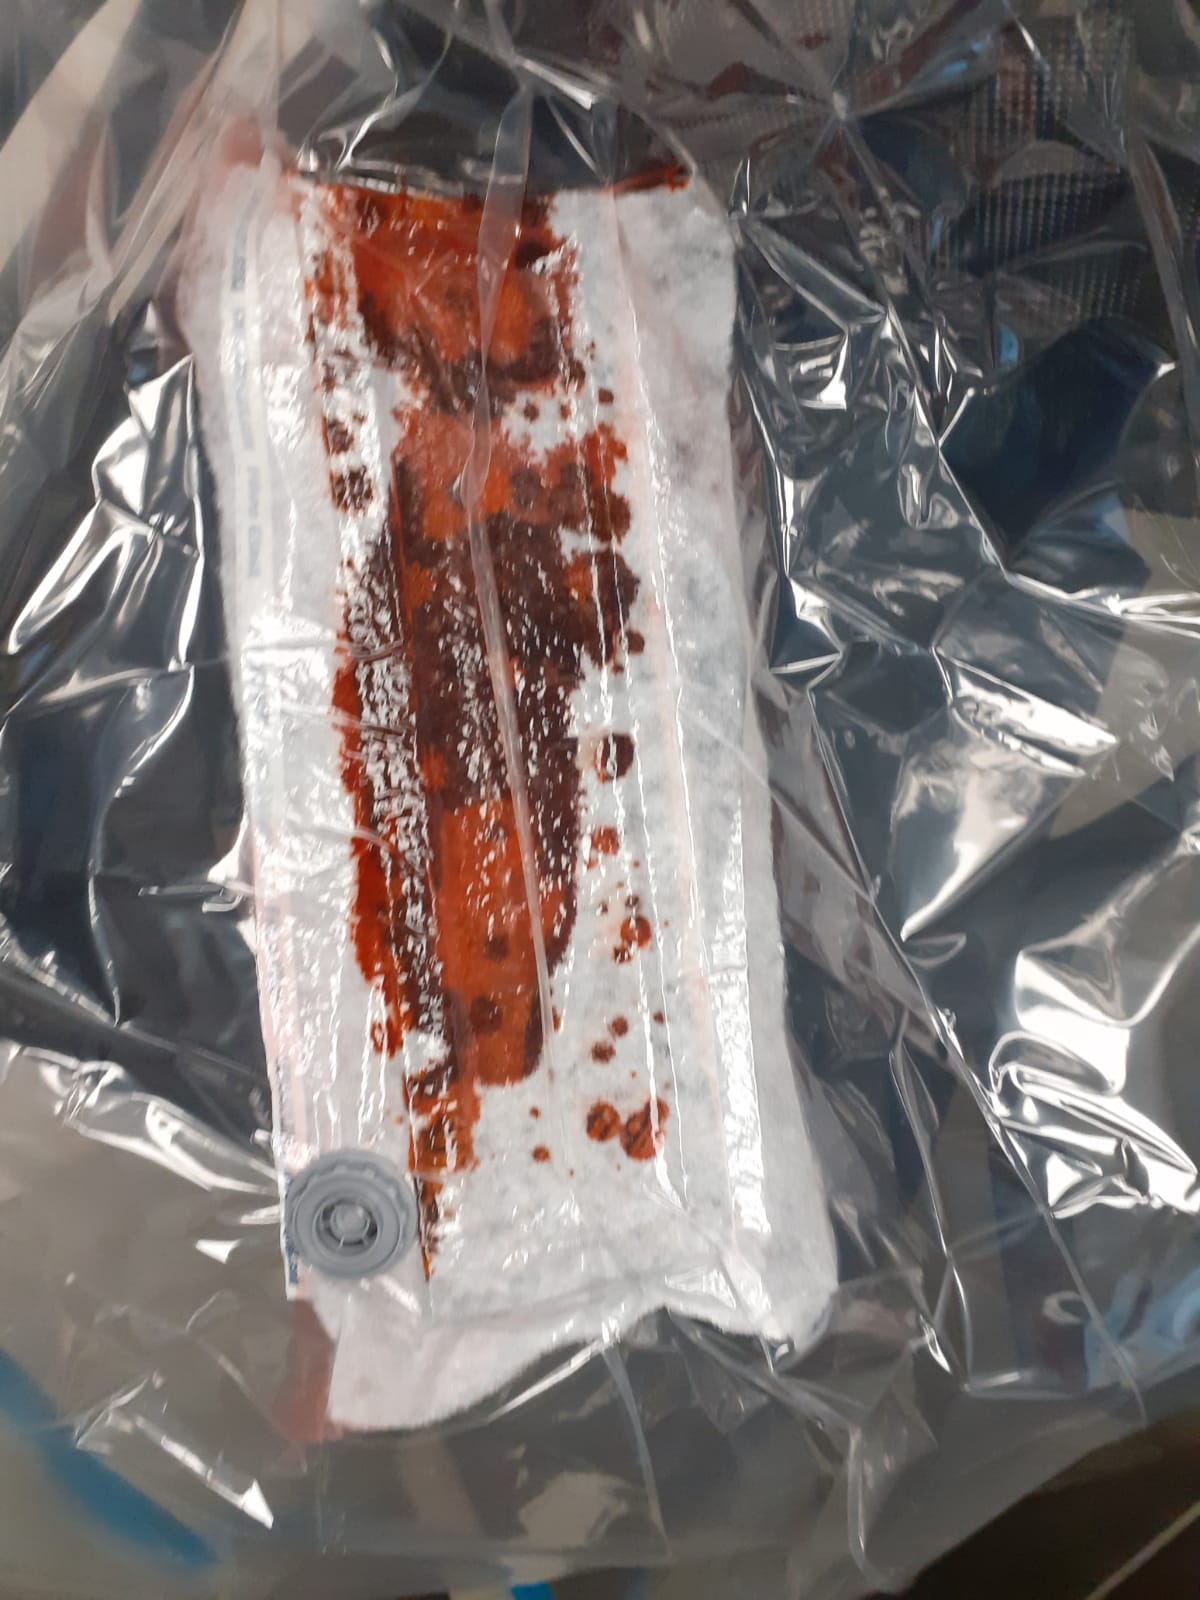
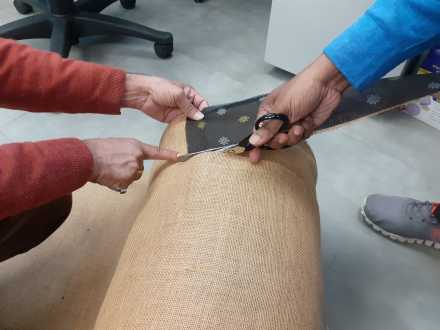
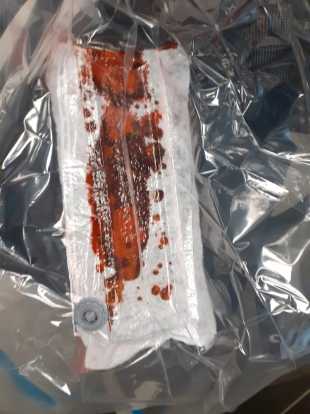
Cutting of Cloth fabric,Jut piece,Polymer wool and fibre glast
Here i used the materials cloth piece, Jut piece polymer wool and fiber glast

Here i used the materials five layers of cloth piece then one layer of Jut piece then epoxy resin poured with distribute help of brush in work piece.fiber glast is use in top for
poured out the resin and polymer wool is used to absorb the pour out resin.

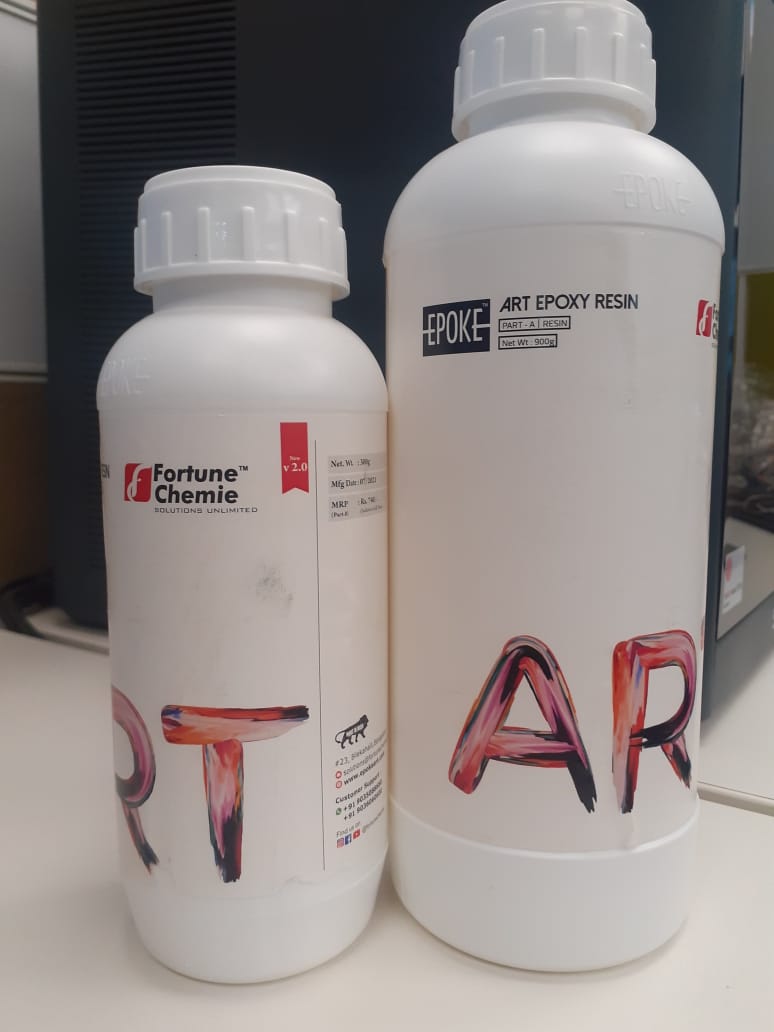
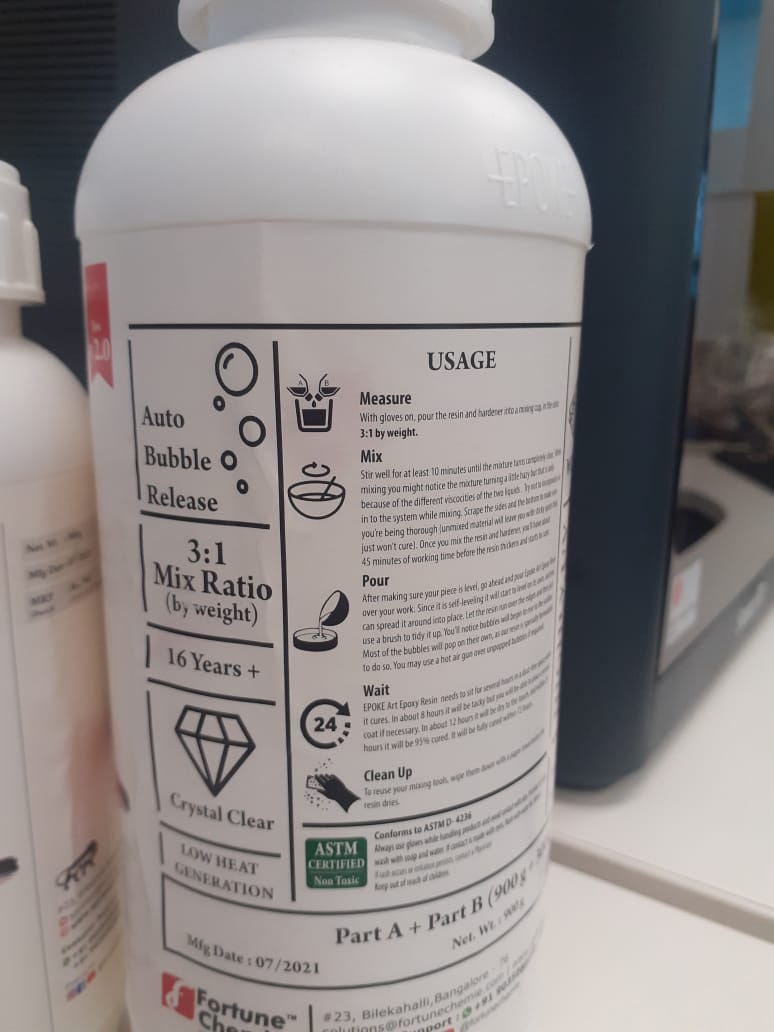
As per user manual of epoxy resin, the ratio is 3:1 by weight and the curing time is 24 hrs.


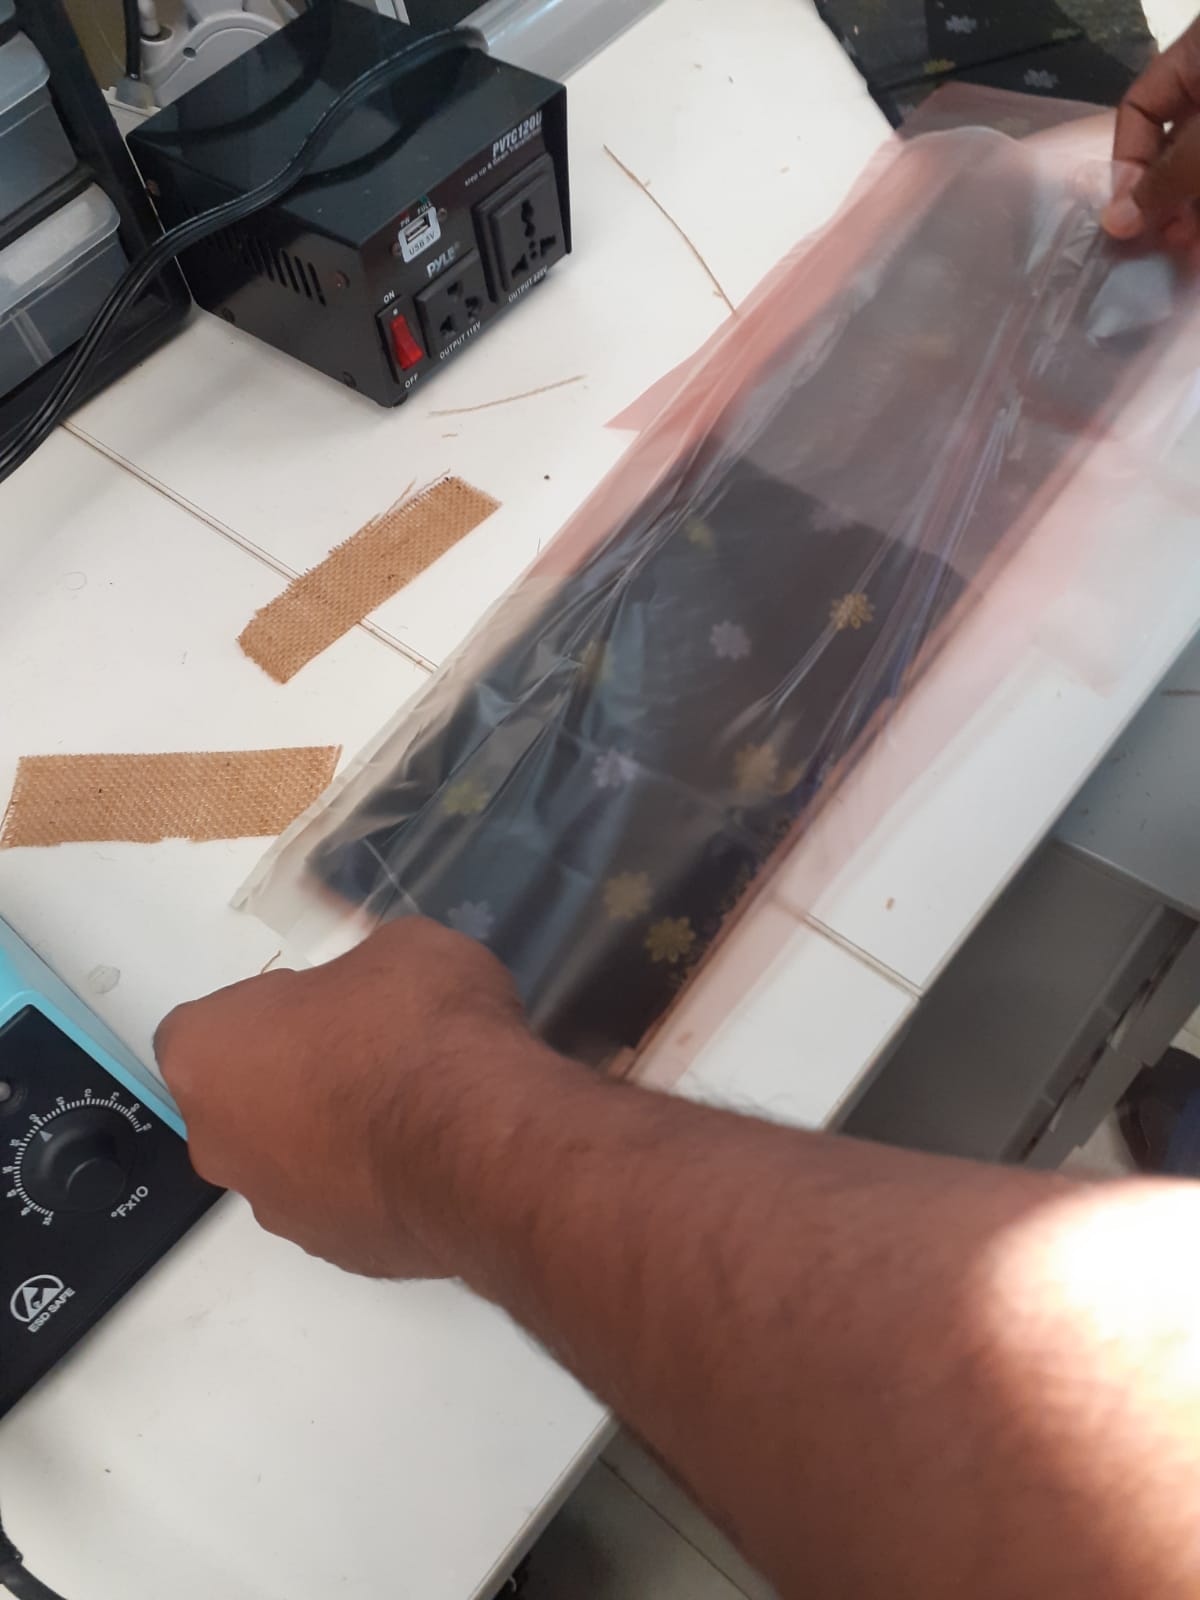
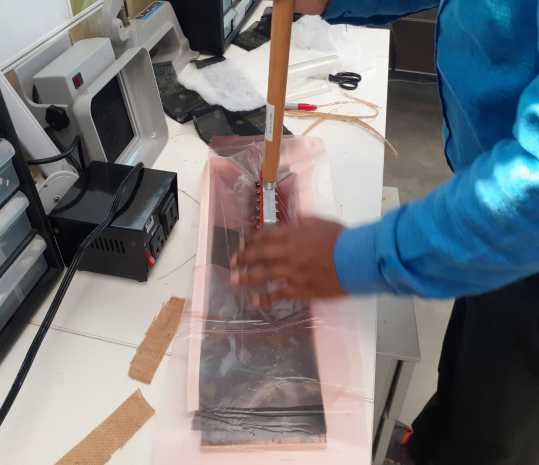
once putting all materials into the pocket and in the top polymer wool for absorb the pouring out
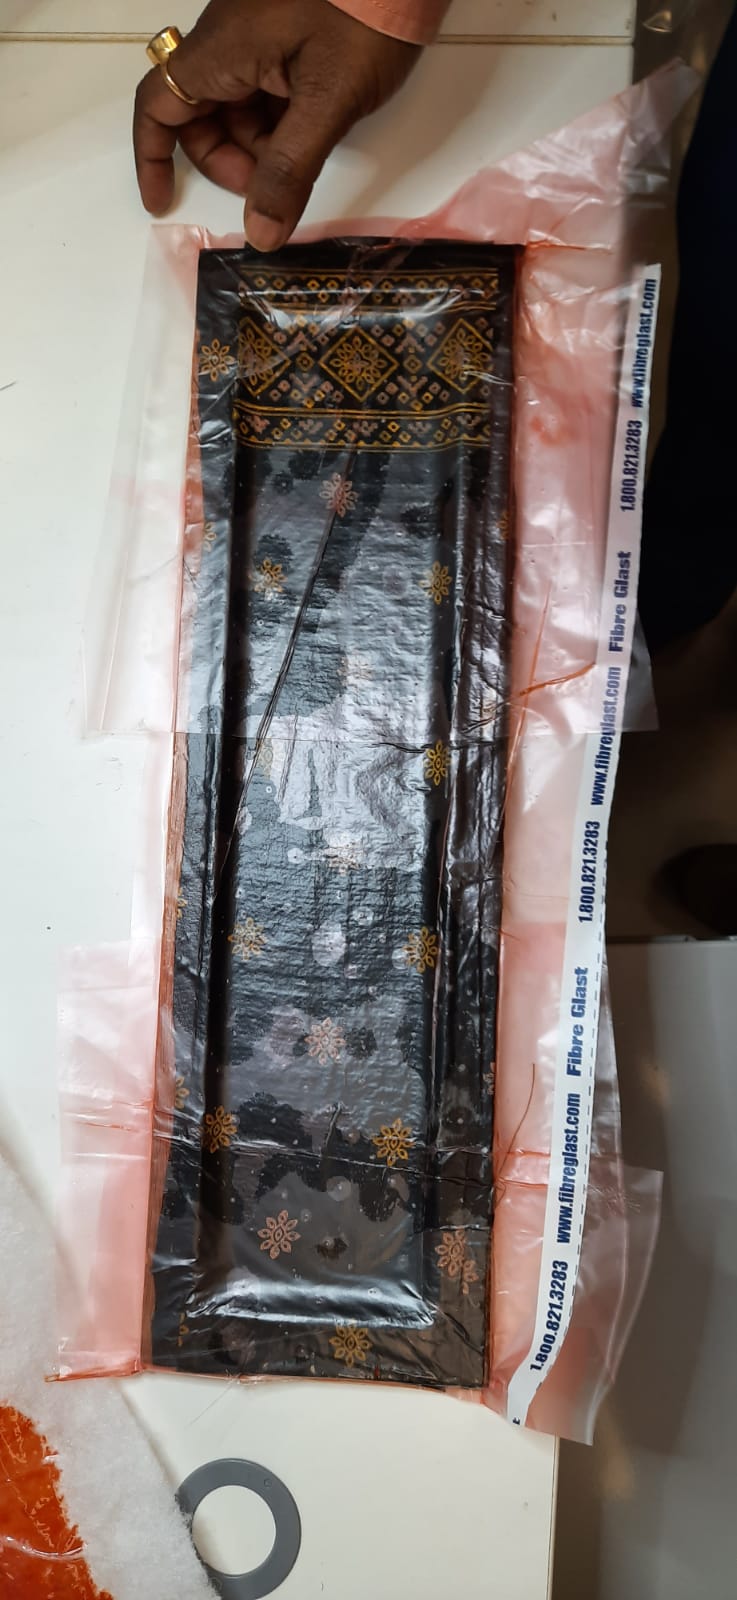
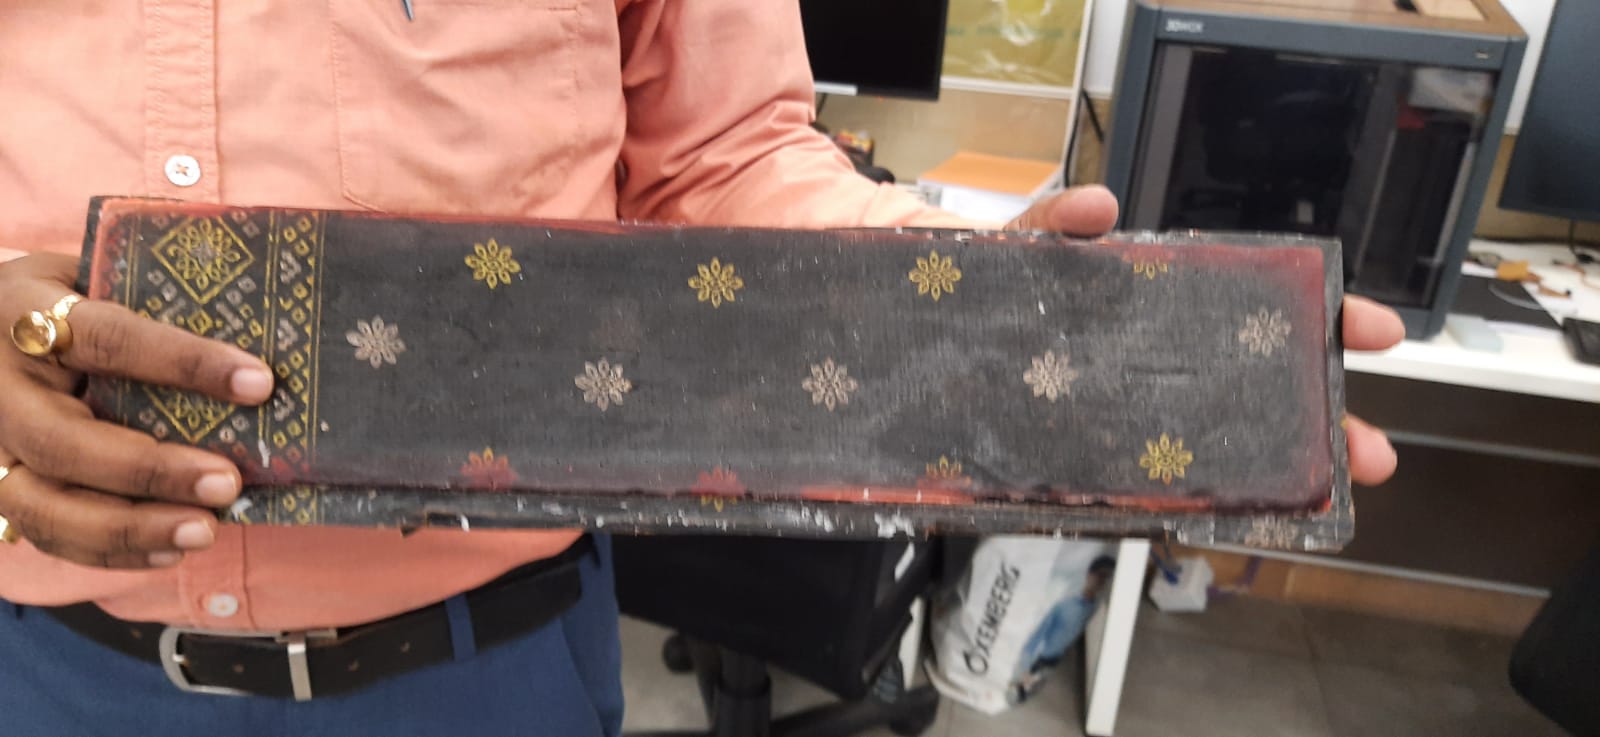
epoxy. Then it is needed to put into the polythene vacuum chamber for removing the bubbles.

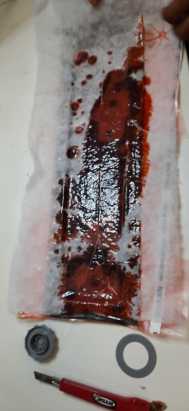
After 24 hours the epoxy is fully cured here is the final product. It hardness is quit good But when
it is removing the sides are attached more firmly due to the less wax coating in the Corner and side
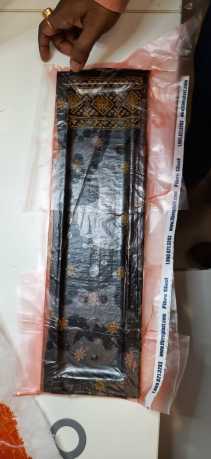


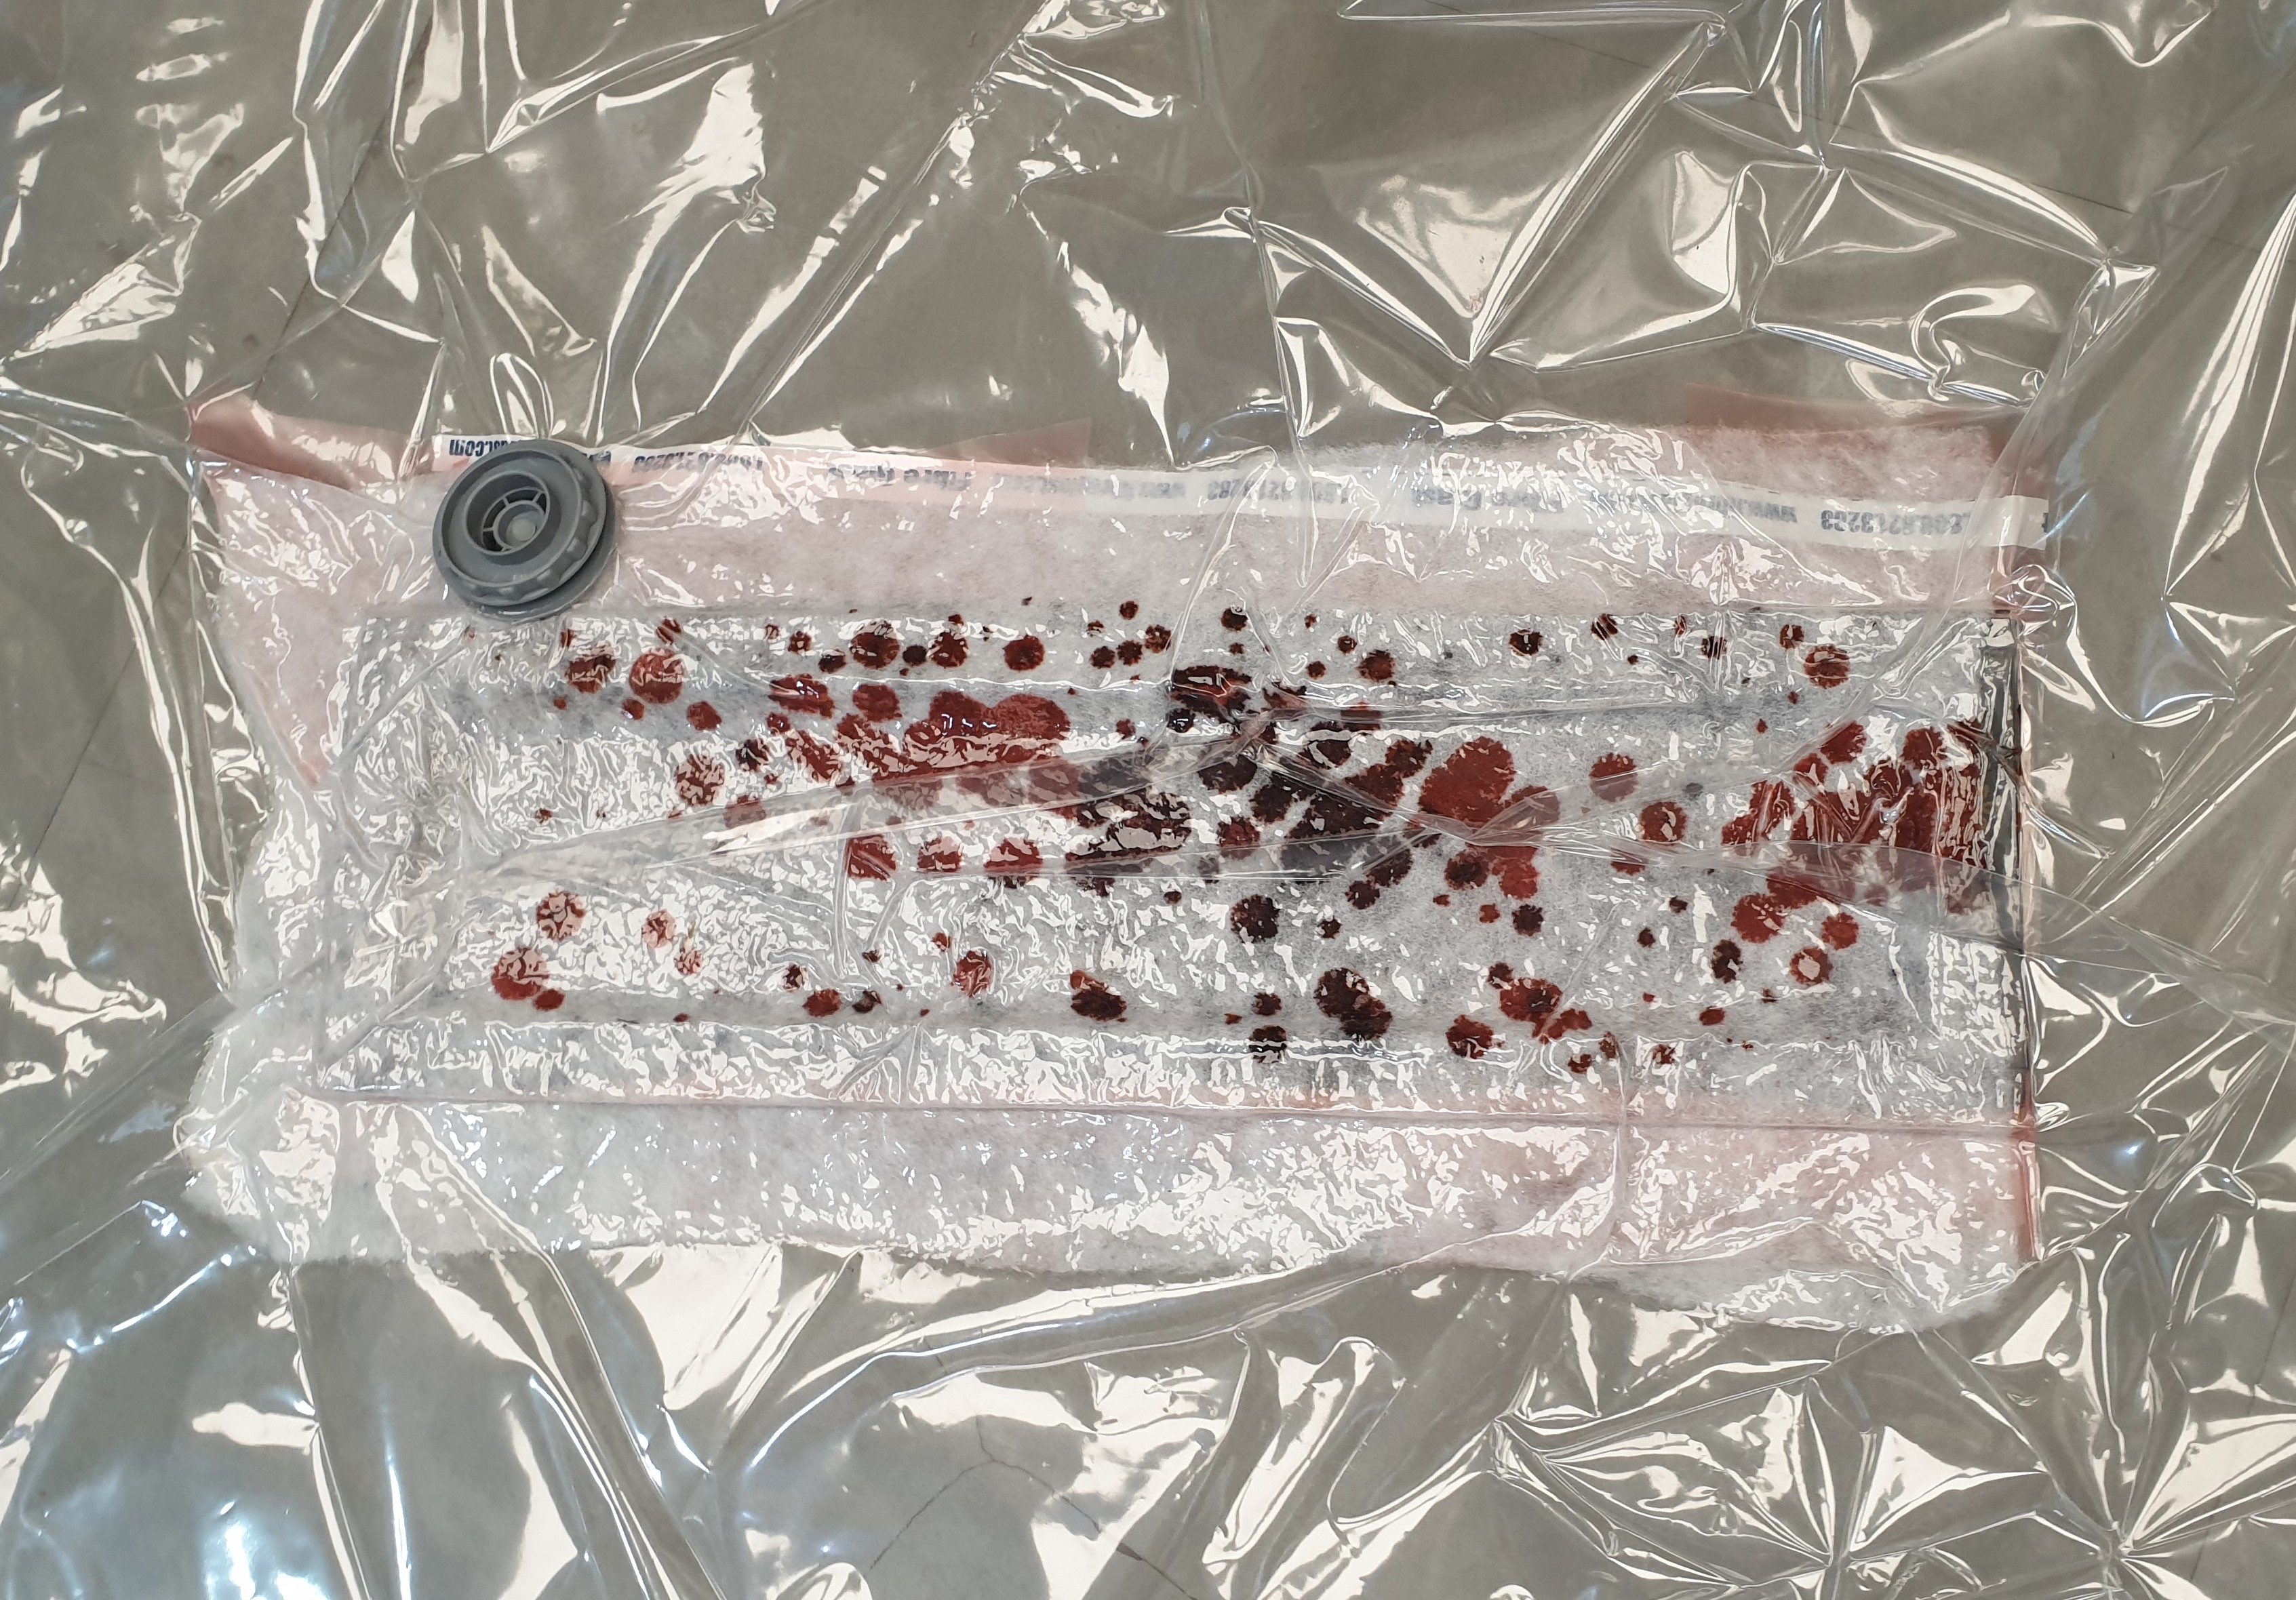
There was no problem removing the piece from the mold, though it was a little sticky, probably because I poured too much resin in the work piece,
and some resin stuck to them, in the end, the model was done.
Click to download the files :